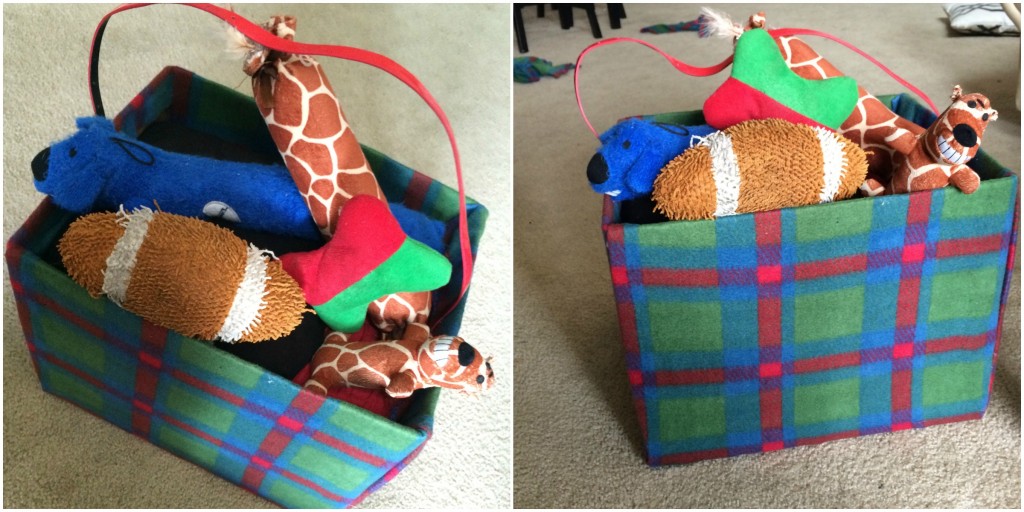
Instead throwing those leftover moving boxes in the recycling bin, turn them into something else completely new. Try this DIY upcycling project and turn a box in a storage bin. Using a few household supplies and a leftover box, you will be able to re-create the storage bin below for your household items.
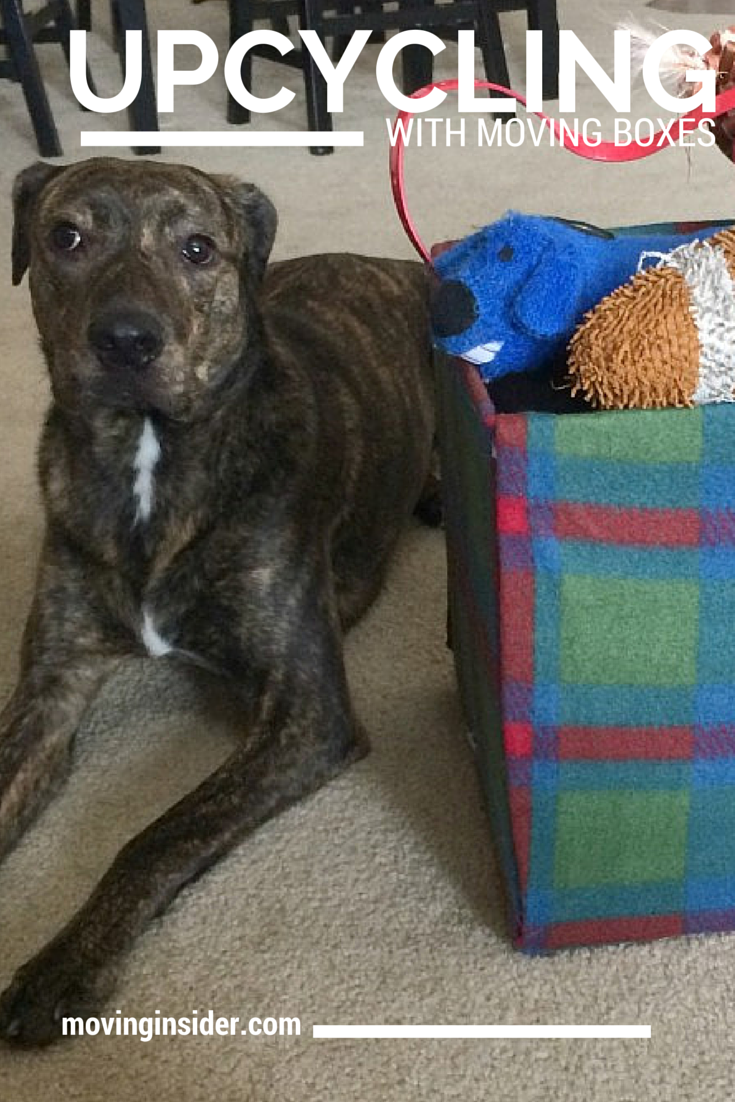 Here’s what you’ll need:
- leftover moving box (built)
- scissors
- box cutter
- fabric
- hot glue or spray adhesive
- measuring tape
- marker
- pen and paper
- unwanted belt
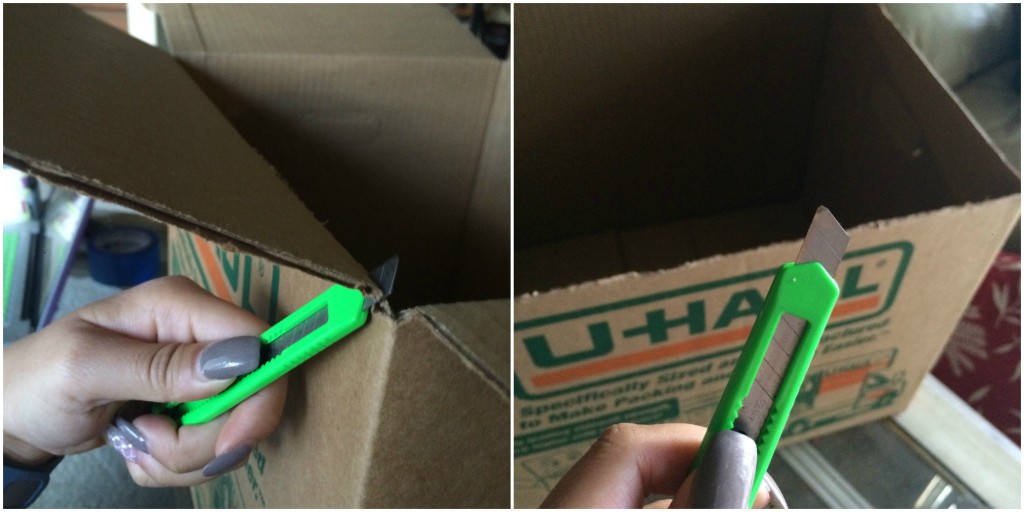
Step 1: Using a box cutter, cut the flaps off the box.
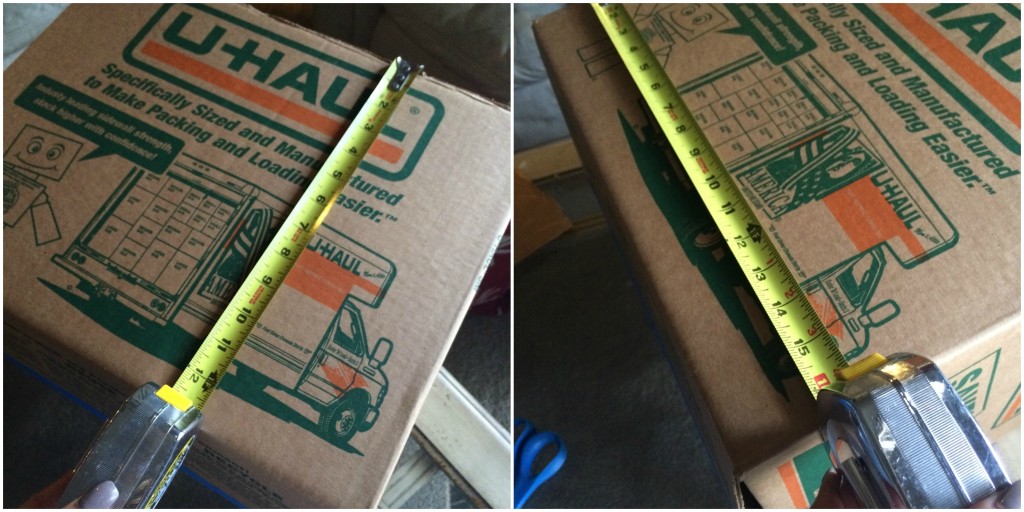
Step 2: Measure the width and height of your box. Write down the dimensions.
Step 3: Place box on fabric and mark appropriately using the dimensions written down in step 2.
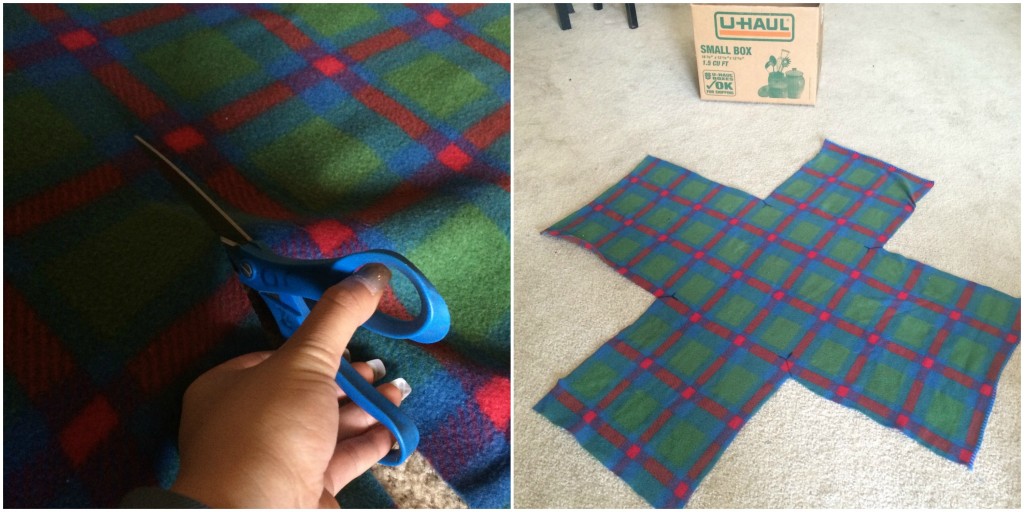
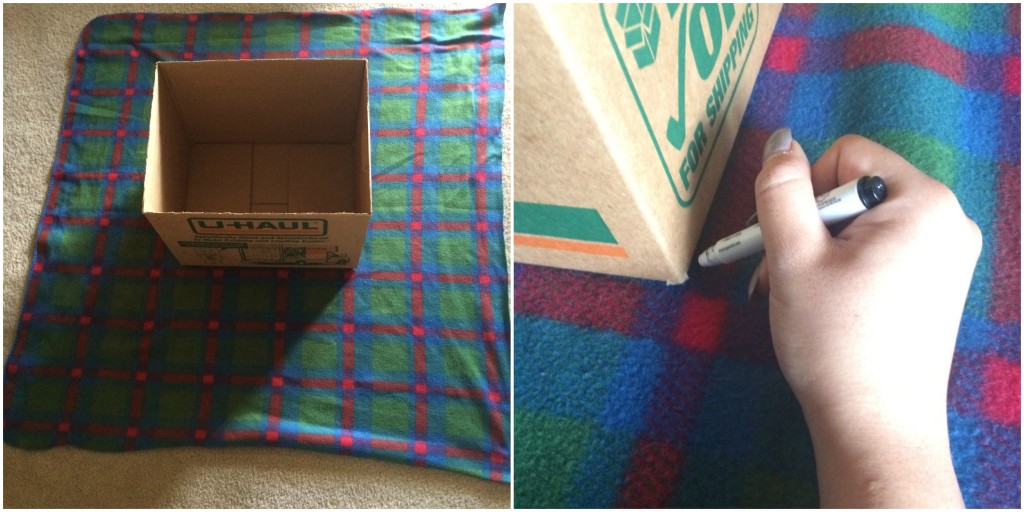 Step 4: Cut the fabric into cross shape as pictured below. Remember to cut an area larger than the dimensions you marked earlier. (i.e. If the dimensions were 13″x 16″, add two inches to each as if the box was actually 15″ x 18″)
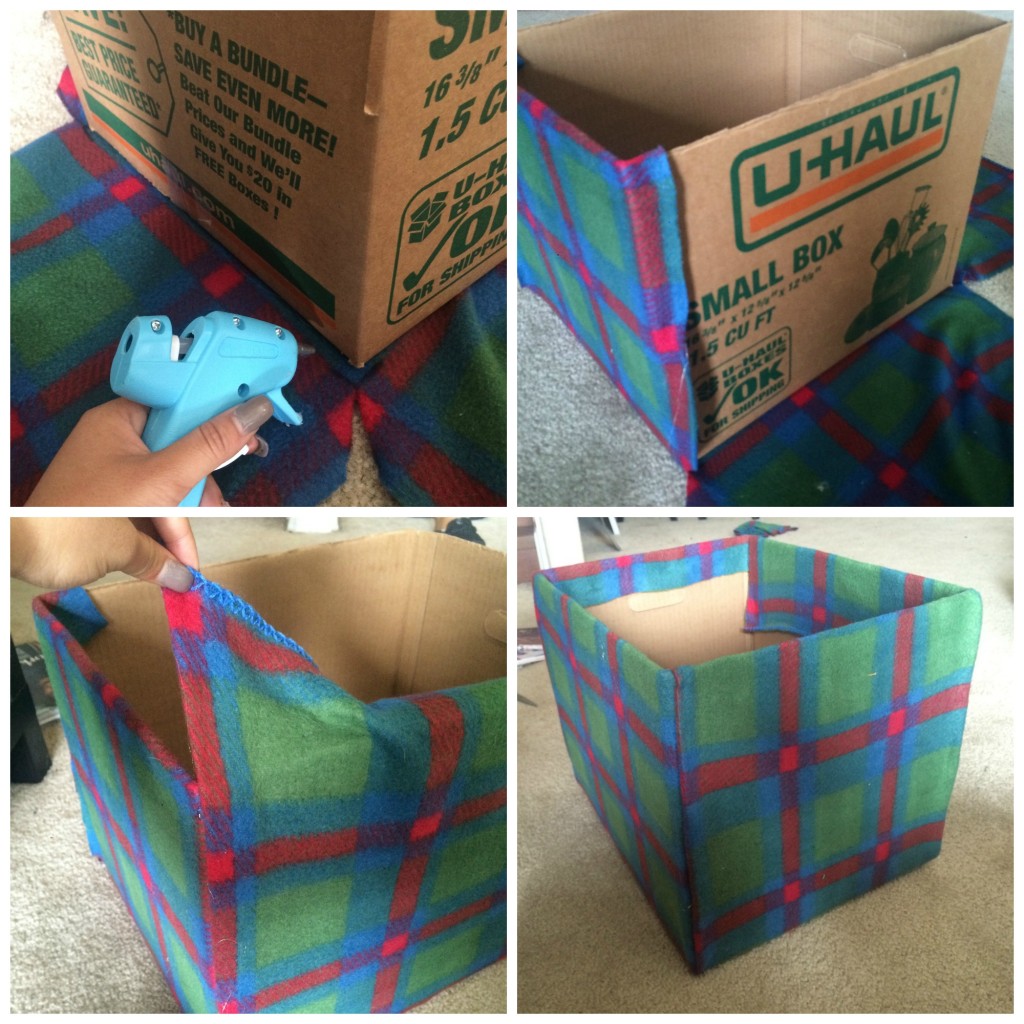
Step 5: Place box in the middle of the “cross”. Use hot glue and star by gluing the bottom.
Step 6: Then use the glue to glue sides. The extra fabric on the “cross” can be folded underneath or stretched to the other side to overlap. See picture above.
Step 7 (optional): Use extra fabric to line the inside of the box.
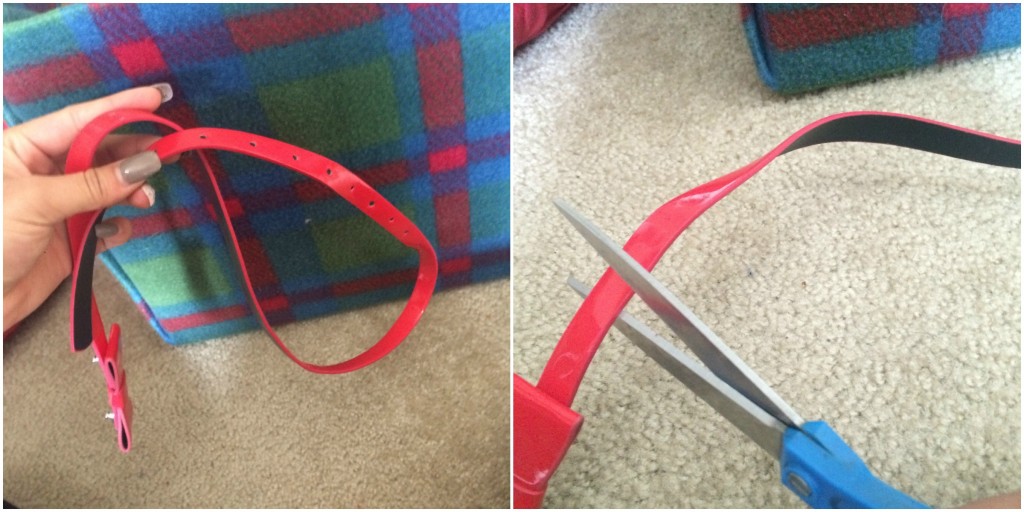
Step 8: Use an old belt as a strap. Cut off buckle and glue to the inside of the box.
Step 9: Fill up your new storage bin! We chose to store dog toys, but it’s up to you what you store!
Do you have upcycling project suggestions? Let us know in the comment section below!
