I’m not sure about you, but there have been plenty of times in my life where I’ll finish moving and have tons of supplies left over. Most of the time these sit around for quite a while waiting to be used, but did you know you can make some great crafts out of tape and cardboard boxes? One of my personal favorites is a magic moving tape wallet. Here’s how you can make your very own!
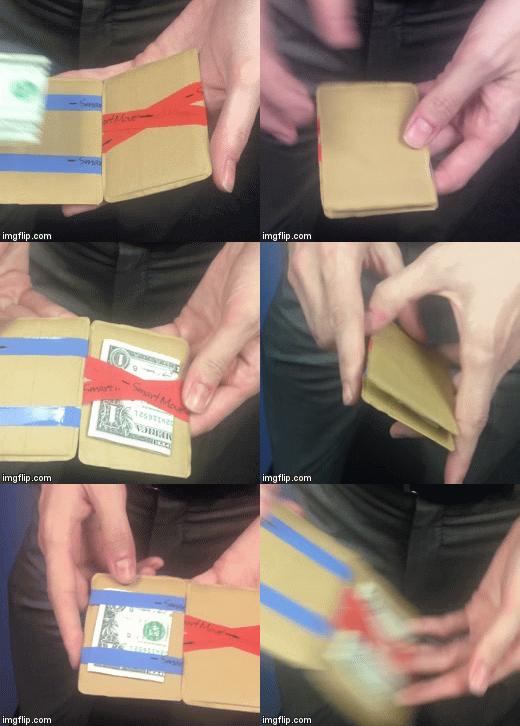
Step 1: Gather Your Gear
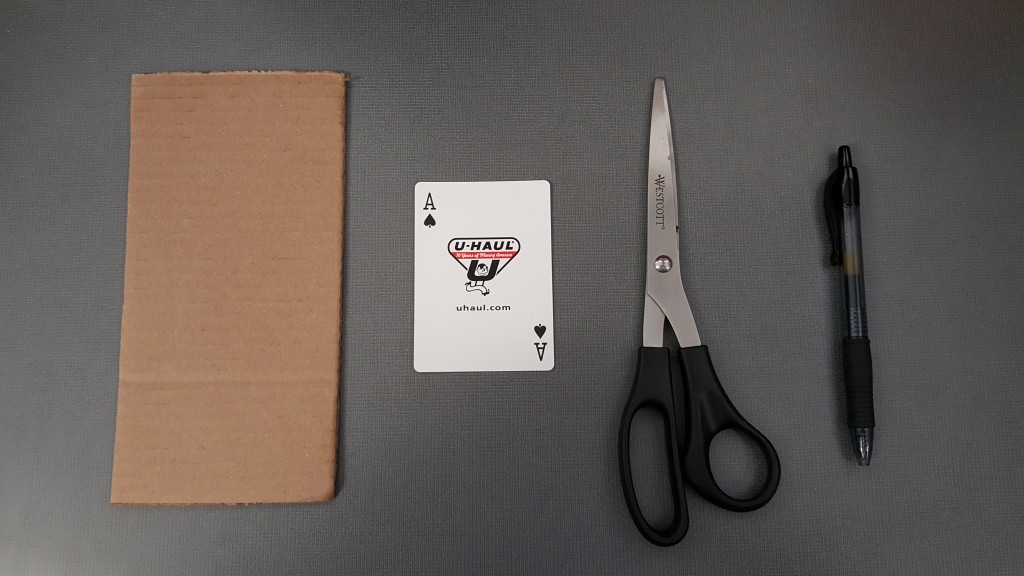
The main item you’ll need to make this project happen is moving tape. There are plenty of different kinds to choose from, but this is the kind I used. If you want to make it to follow this guide exactly, I use Smart Move tape as well. Other than that here are the items you should grab before beginning.
- Cardboard
- Playing Card
- Scissors
- Pen
Step 2: Start Your Journey
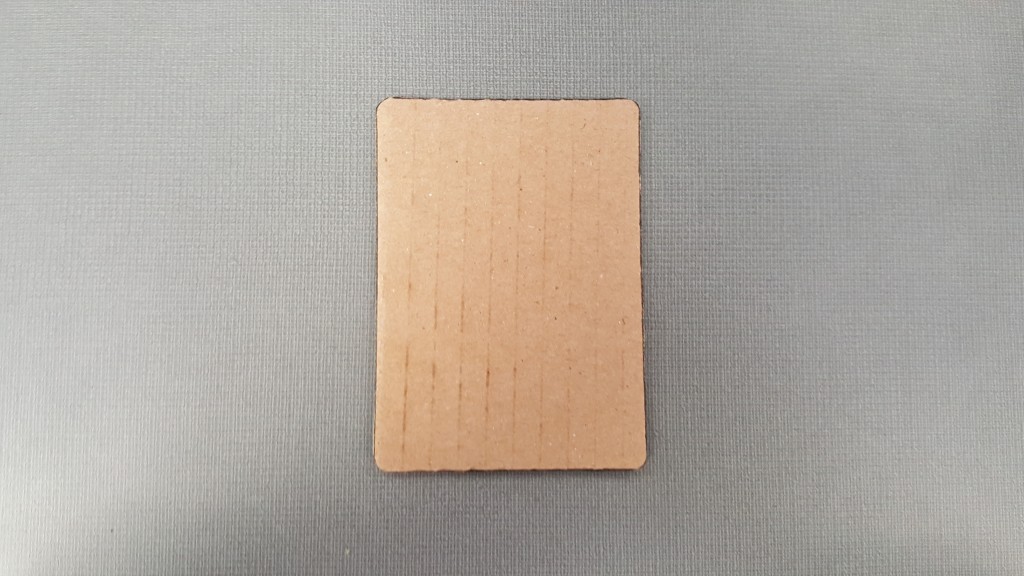
Take your piece of cardboard, and use the pen and playing card to make an outline. Then use the scissors to cut out the outlined area. Repeat the process. You should have two identical pieces of card-shaped cardboard when you’re done.

Step 3: Wrap It Up
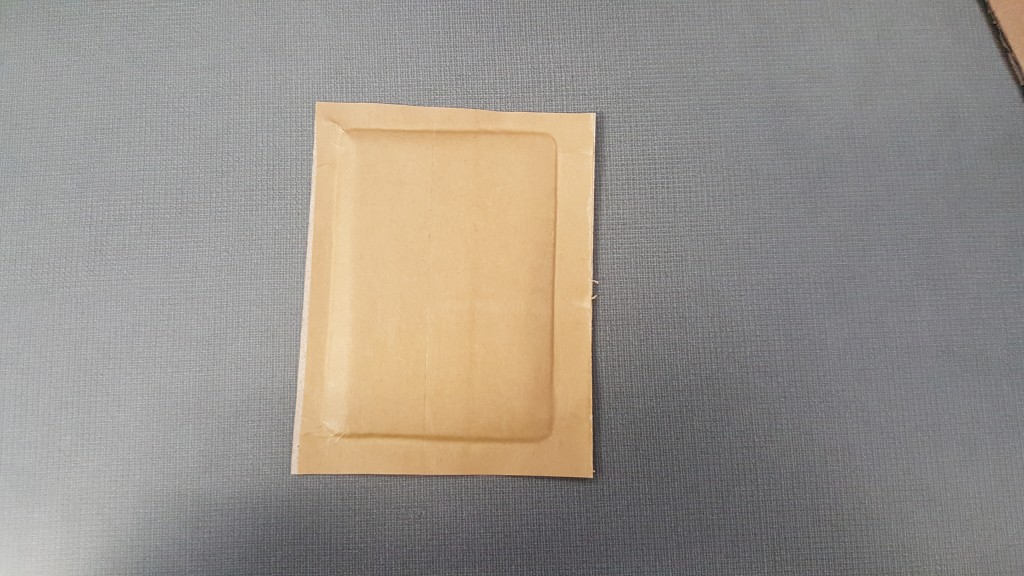
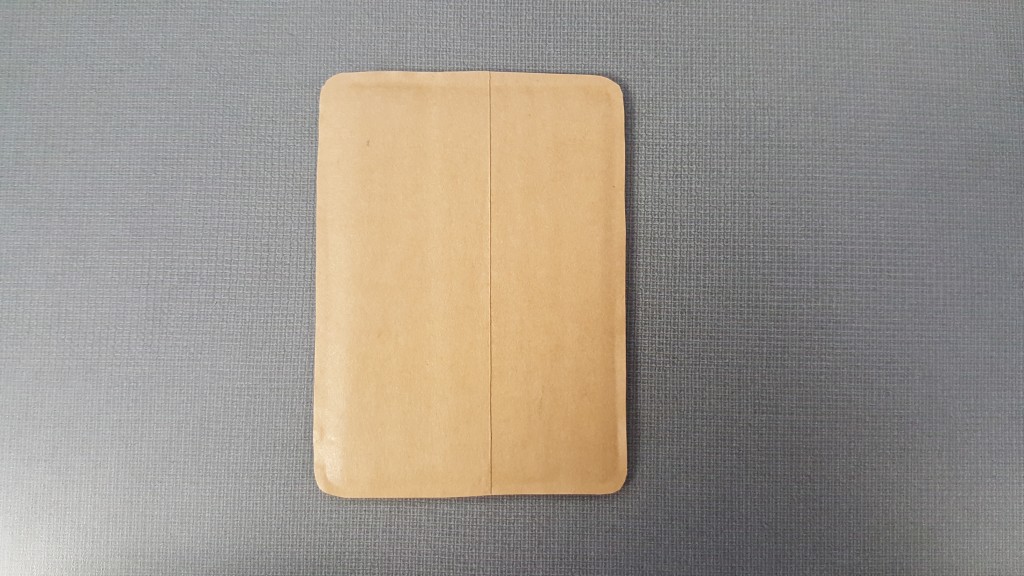
Cover the cardboard pieces in moving tape and then cut off the excess. There are several ways you can do this, but the way we chose is shown below.
Step 4: Making the Magic Happen
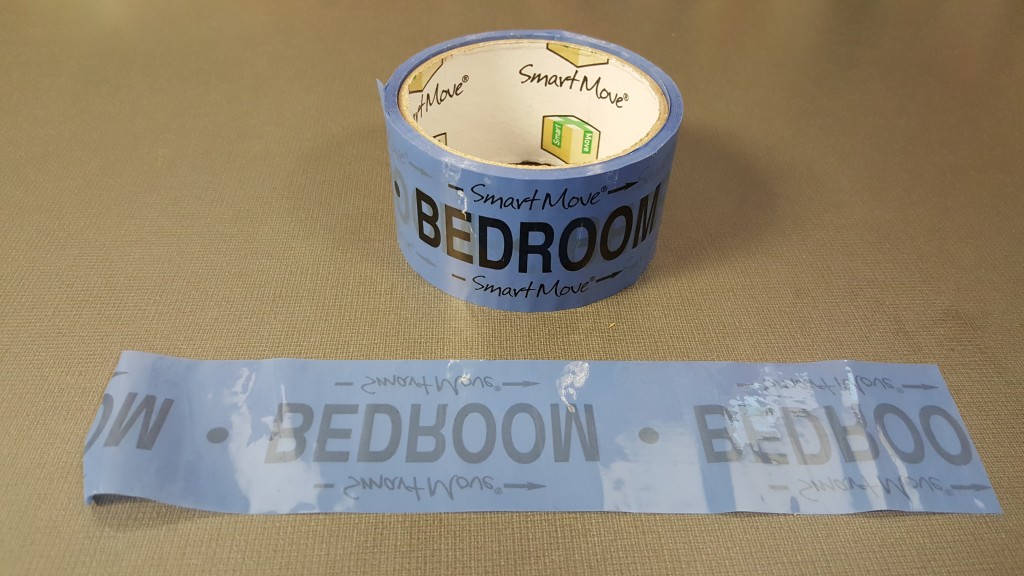
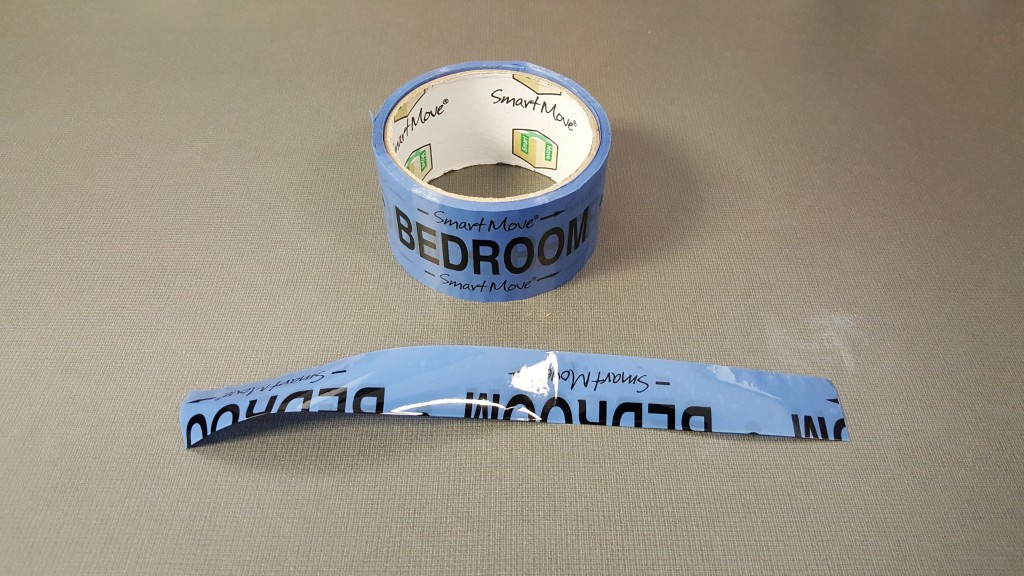
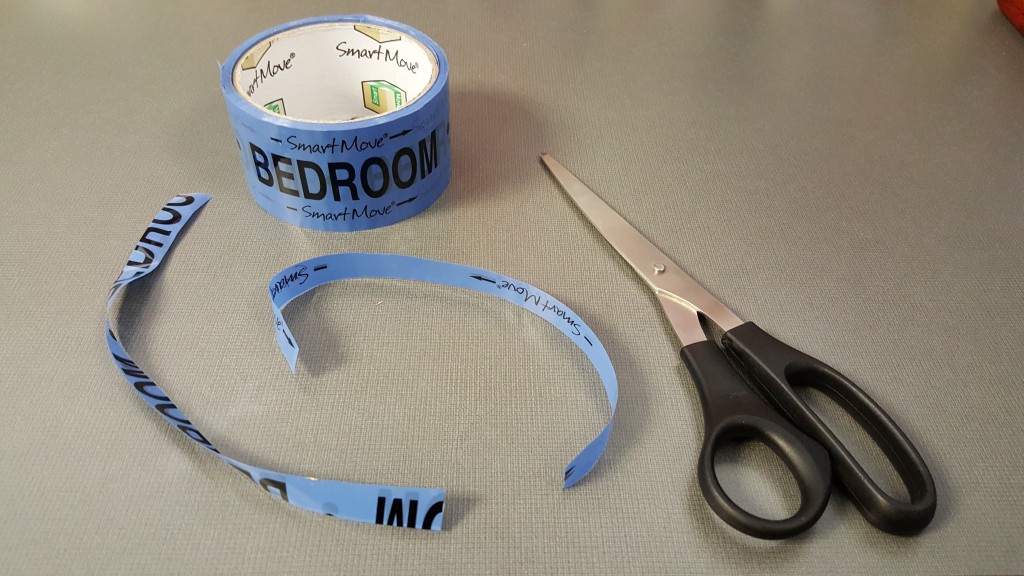
Next up you’ll be making the strips of tape that hold the magic wallet together. Take a piece of tape and fold it in half so that neither side is sticky anymore. Then cut it in half. In total, you will need 4 of these strips, so do this step twice.
Step 5: Building the Bridge
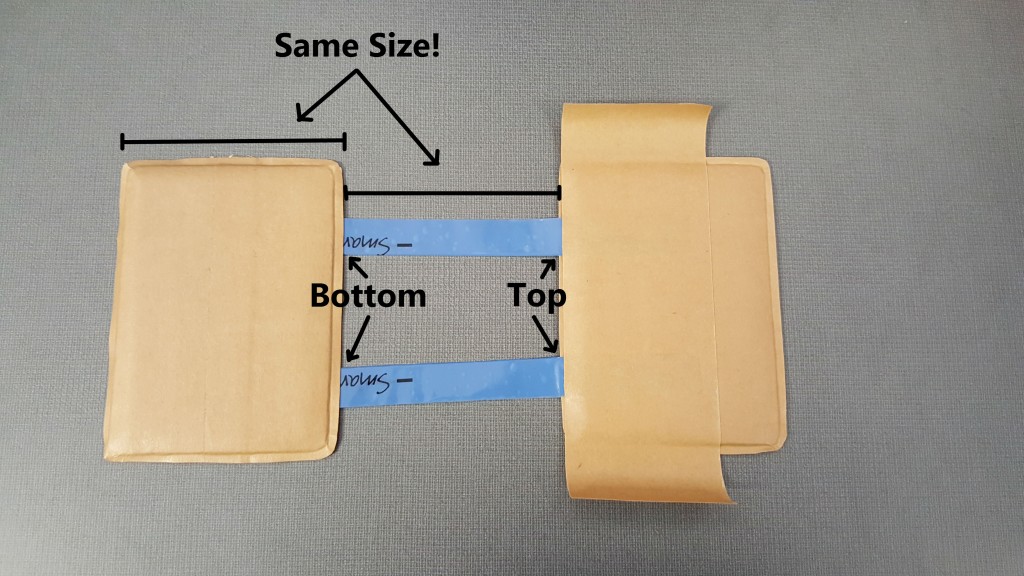
This is where things get slightly complicated, because if you attach the tape strips in the wrong place then the wallet will not function properly. We will connect our two pieces of tape-covered-cardboard together using the strips of tape we just made. Lay the tape strips down on the piece of cardboard and then tape them in place as shown below. Be sure that the strips connect to the bottom of one side, and the top of the other.
IMPORTANT: Be sure that the distance between the two pieces of cardboard is the same as the width of the pieces of cardboard.
Step 6: “X” Marks the Spot
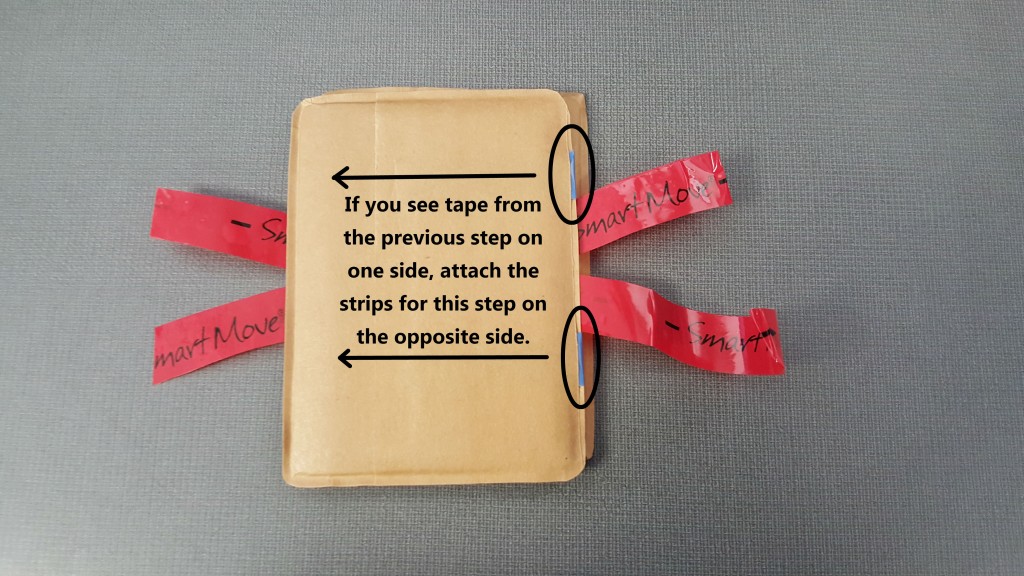
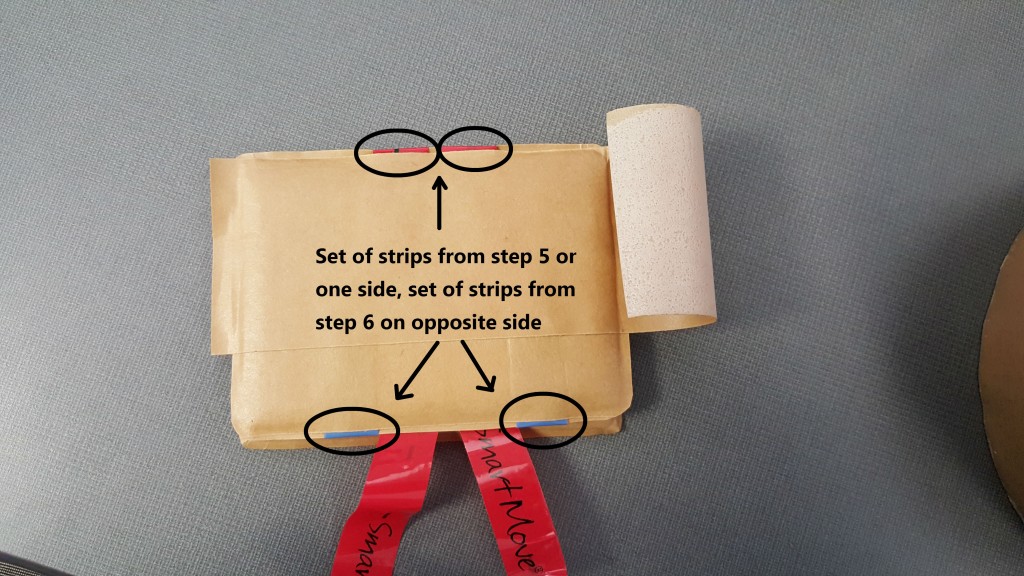
Next, we are going to attach the other set of strips we made. In this example, I used a different color so you can easily tell the difference between the strips from step 5 and this step. To get started, make an “X” with the strips on one of the pieces of cardboard as shown below. I used an extra piece of tape to hold them in place. Then slide the other piece of cardboard on top of the one that you just put the strips of tape on. Then you will tape the new strips to the side of the piece of cardboard that does not have strips attached to it already from the previous step. This step is a little hard to explain, so for further clarification, see the photos below.

Step 7: The End is Near
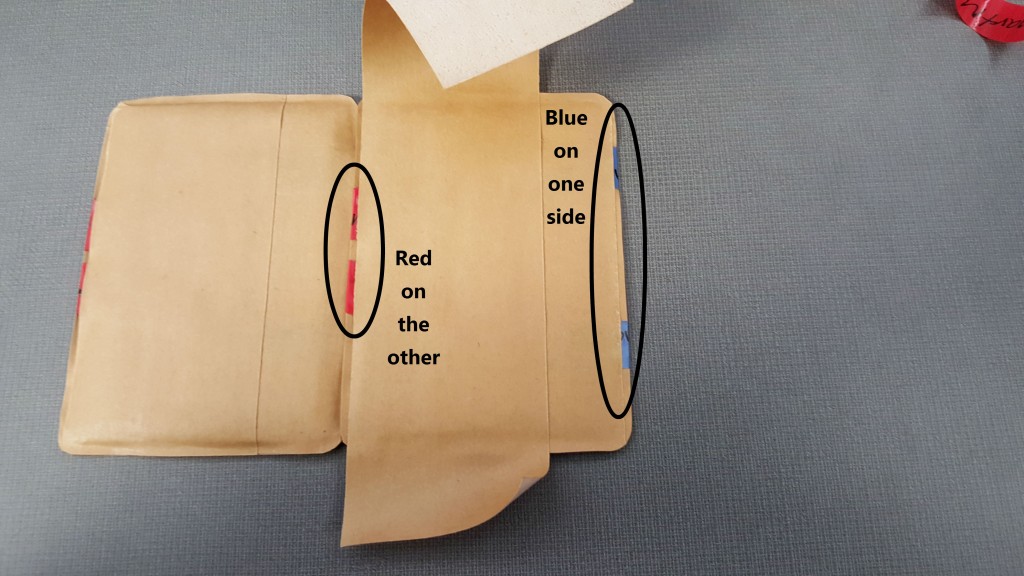
To finish this wallet up, you just need to flip the whole thing over and tape the strips that are still dangling to the other side of the magic wallet. Once again, notice that there is blue tape on one side and red tape on the other.
Step 8: Add A Pocket to the Outside (Optional)
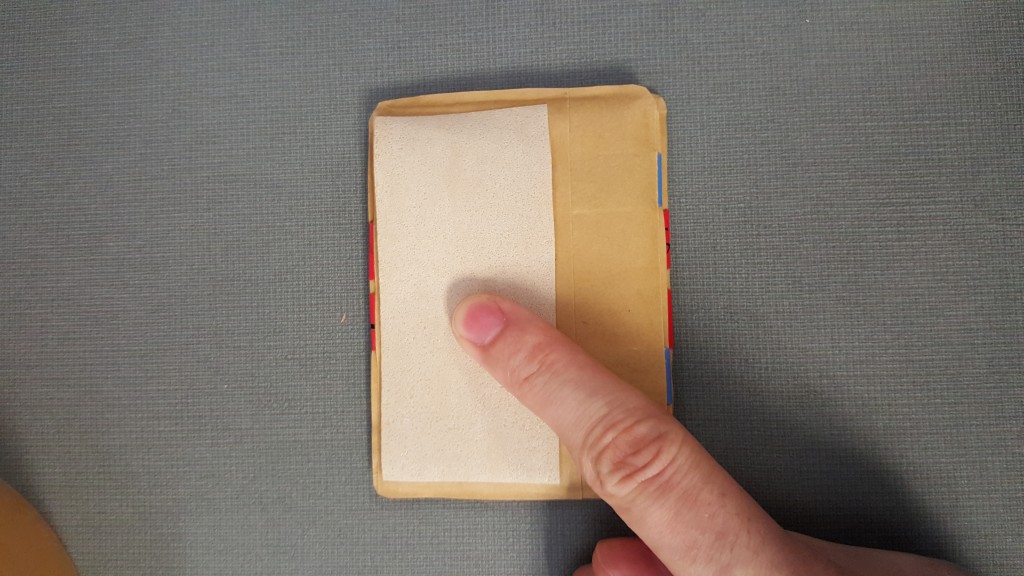
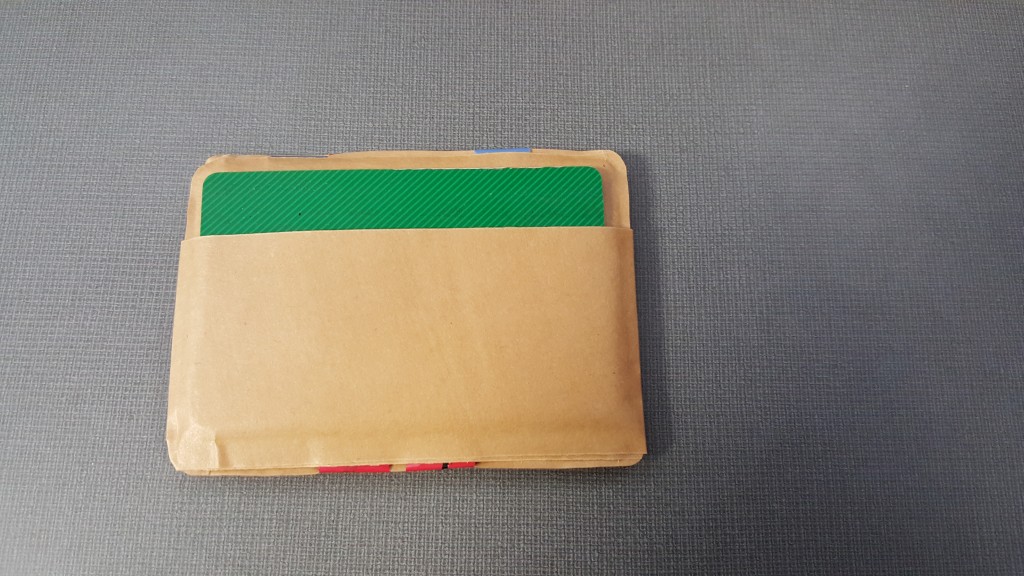
While your magic wallet already looks stylish, it will need a pocket if you want it to really function as a wallet because the inside will only work with cash. If you want to add one, hold a piece of tape sticky side up on the outside of the wallet. Then simply add the tape over it to hold it in place.
Step 9: Test Out Your New Creation
You’ve finally completed your wallet, and it’s ready to wow your friends–just don’t forget to remove the tape from the beginning of step 6 that we used to hold the red tape strips in place!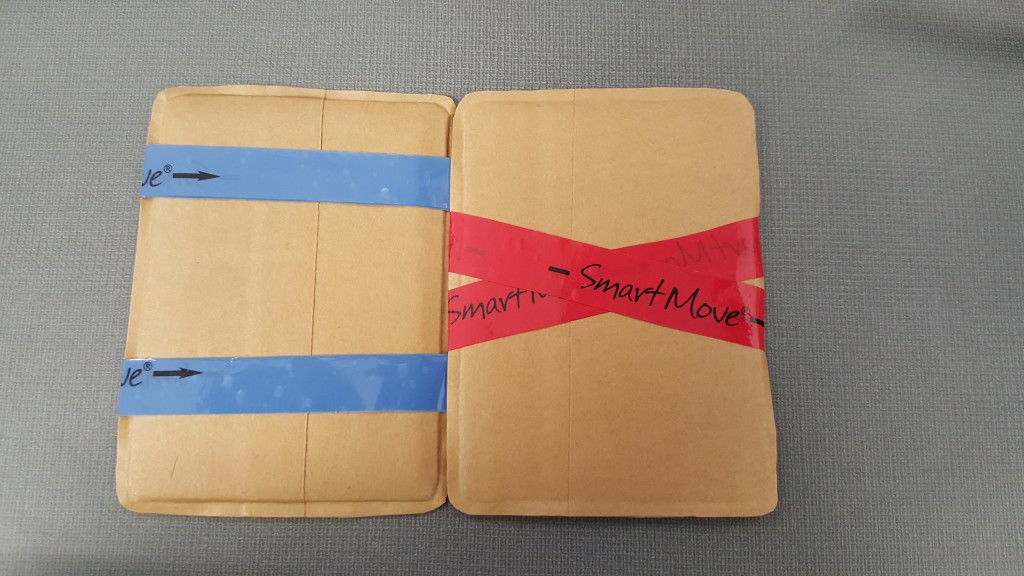
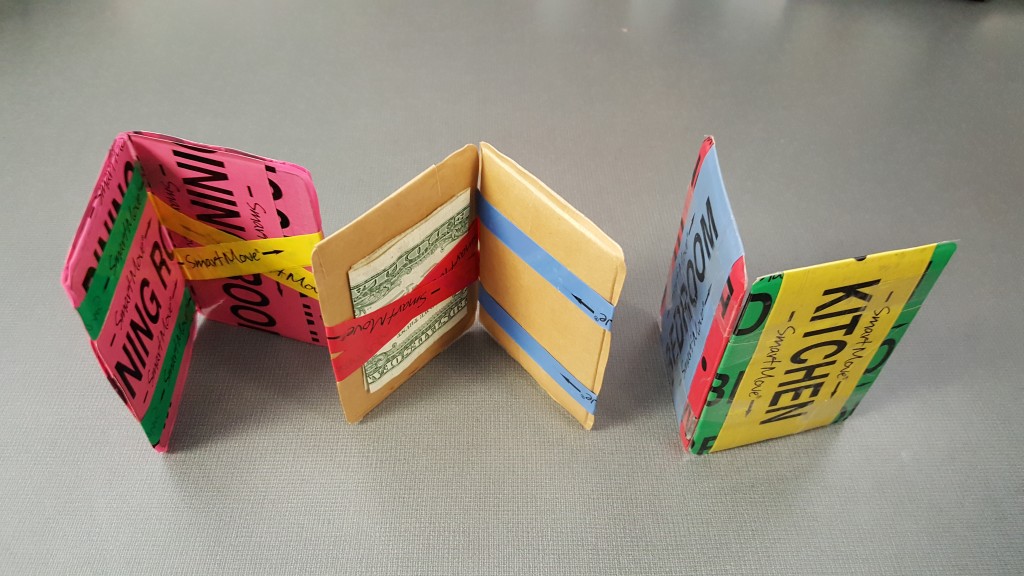
Did you like this moving supply craft? Want to see more in the future? Let us know in the comments!


