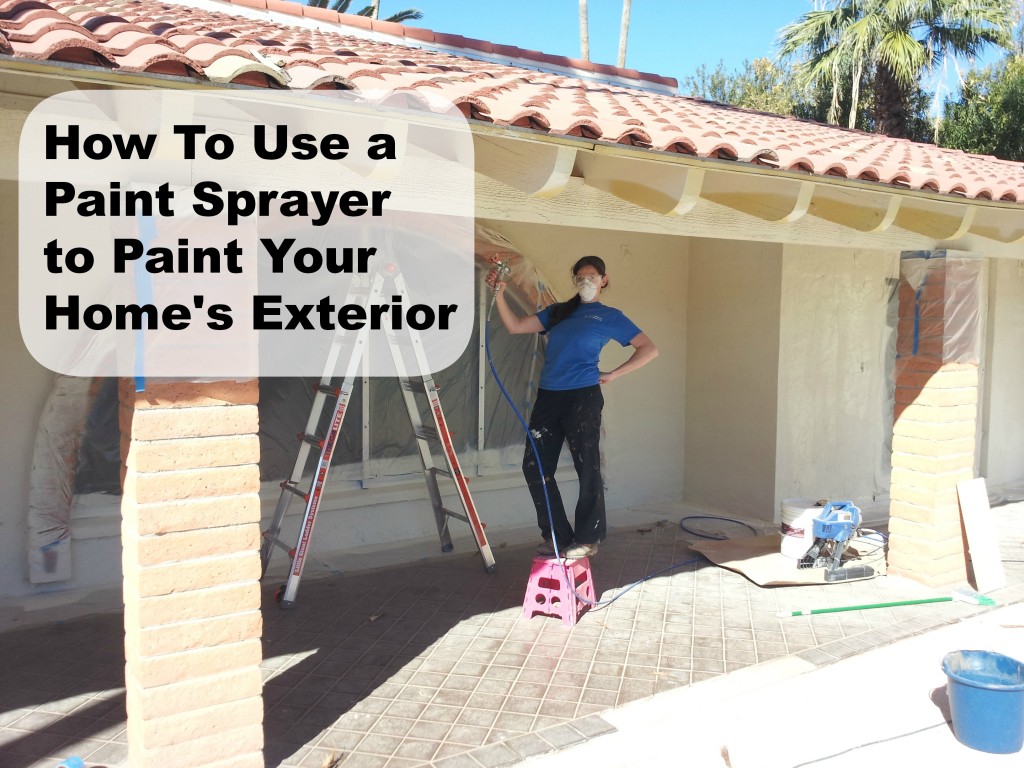
 Painting your home’s exterior is an easy way to give it a fresh new look, and using a paint sprayer is one of the quickest methods. While it requires more setup and is a bit more complex than using a traditional roller or brush, the time savings can be significant. Here are some steps to ensure your exterior painting project with a paint sprayer goes smoothly.
The Sprayer – If you plan on painting frequently, a paint sprayer can be a worthwhile investment, with prices ranging from under $100 to over $1,000. The model I used, the Magnum X5, cost less than $300. However, if you only have one project in mind, you might consider renting a paint sprayer from a local paint store, hardware store, or equipment rental shop.
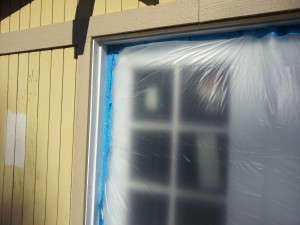
 Preparations -Preparation is one of the most important steps in painting. To ensure the paint adheres well, make sure your walls are as clean as possible. A power washer is ideal, but you can also use a garden hose and a paint scraper to remove dirt, debris, and any peeling paint. Additionally, it’s essential to only paint the areas you want to cover. Tape off edges, windows, and fixtures, and consider covering windows with painter’s plastic. Since paint sprayers tend to spray a lot of paint into the air, it will eventually settle on the ground. If you don’t plan on painting the floor, be sure to protect it with plastic, a drop cloth, or even recycled cardboard boxes.
Paint Sprayer Setup – Follow the instructions that your specific paint sprayer came with. From personal experience, I can tell you that it is also best to do the setup over a drop cloth because you do not want to have to clean up spilled paint.
 Protective Gear – It is very important to to wear protective gear. Use clothes or a coverall that you do not mind getting paint on. Wear protective glasses so that paint will not get in your eyes. A face mask or respirator should also be worn to stop you from breathing in the aerated paint.
Painting – Once you have finished all of the above steps, the actual painting is easy. If you have a less visible area, then you may want to start there to get used to the paint sprayer. You will want to start with the corners and edging first. If you are spraying the top or side of a wall, use a painter’s shield to stop over-spray. Once the edges are done you will fill in the rest of the wall. Use smooth and even side to side strokes. The paint sprayer should be about one foot from the wall, but you may need to be slightly closer or farther away depending on the pressure of your paint sprayer. Always be sure your strokes are overlapping so that you do not end up missing a spot. The paint should dry before applying additional coats.
Maintenance and Cleanup – Once you are done, maintaining a paint sprayer is extremely important. If you let paint dry within the paint sprayer it will be extremely difficult to get it cleaned the next time you want to use it. You also do not want to leave water in your pump as it can freeze or corrode. Most manufacturers recommend using some form of pump protector such as this one by Graco. Also be sure to clean the nozzle of the paint sprayer well so that it continues to spray evenly. Follow your manufacturer’s instructions for how to clean and store your sprayer.
You don’t have to be a professional to paint your house using a paint sprayer. By following these steps, just about anyone can paint the exterior of their home using a paint sprayer.
Do you plan on repainting your home in the near future? Have you ever used a paint sprayer before? Let us know in the comments.


