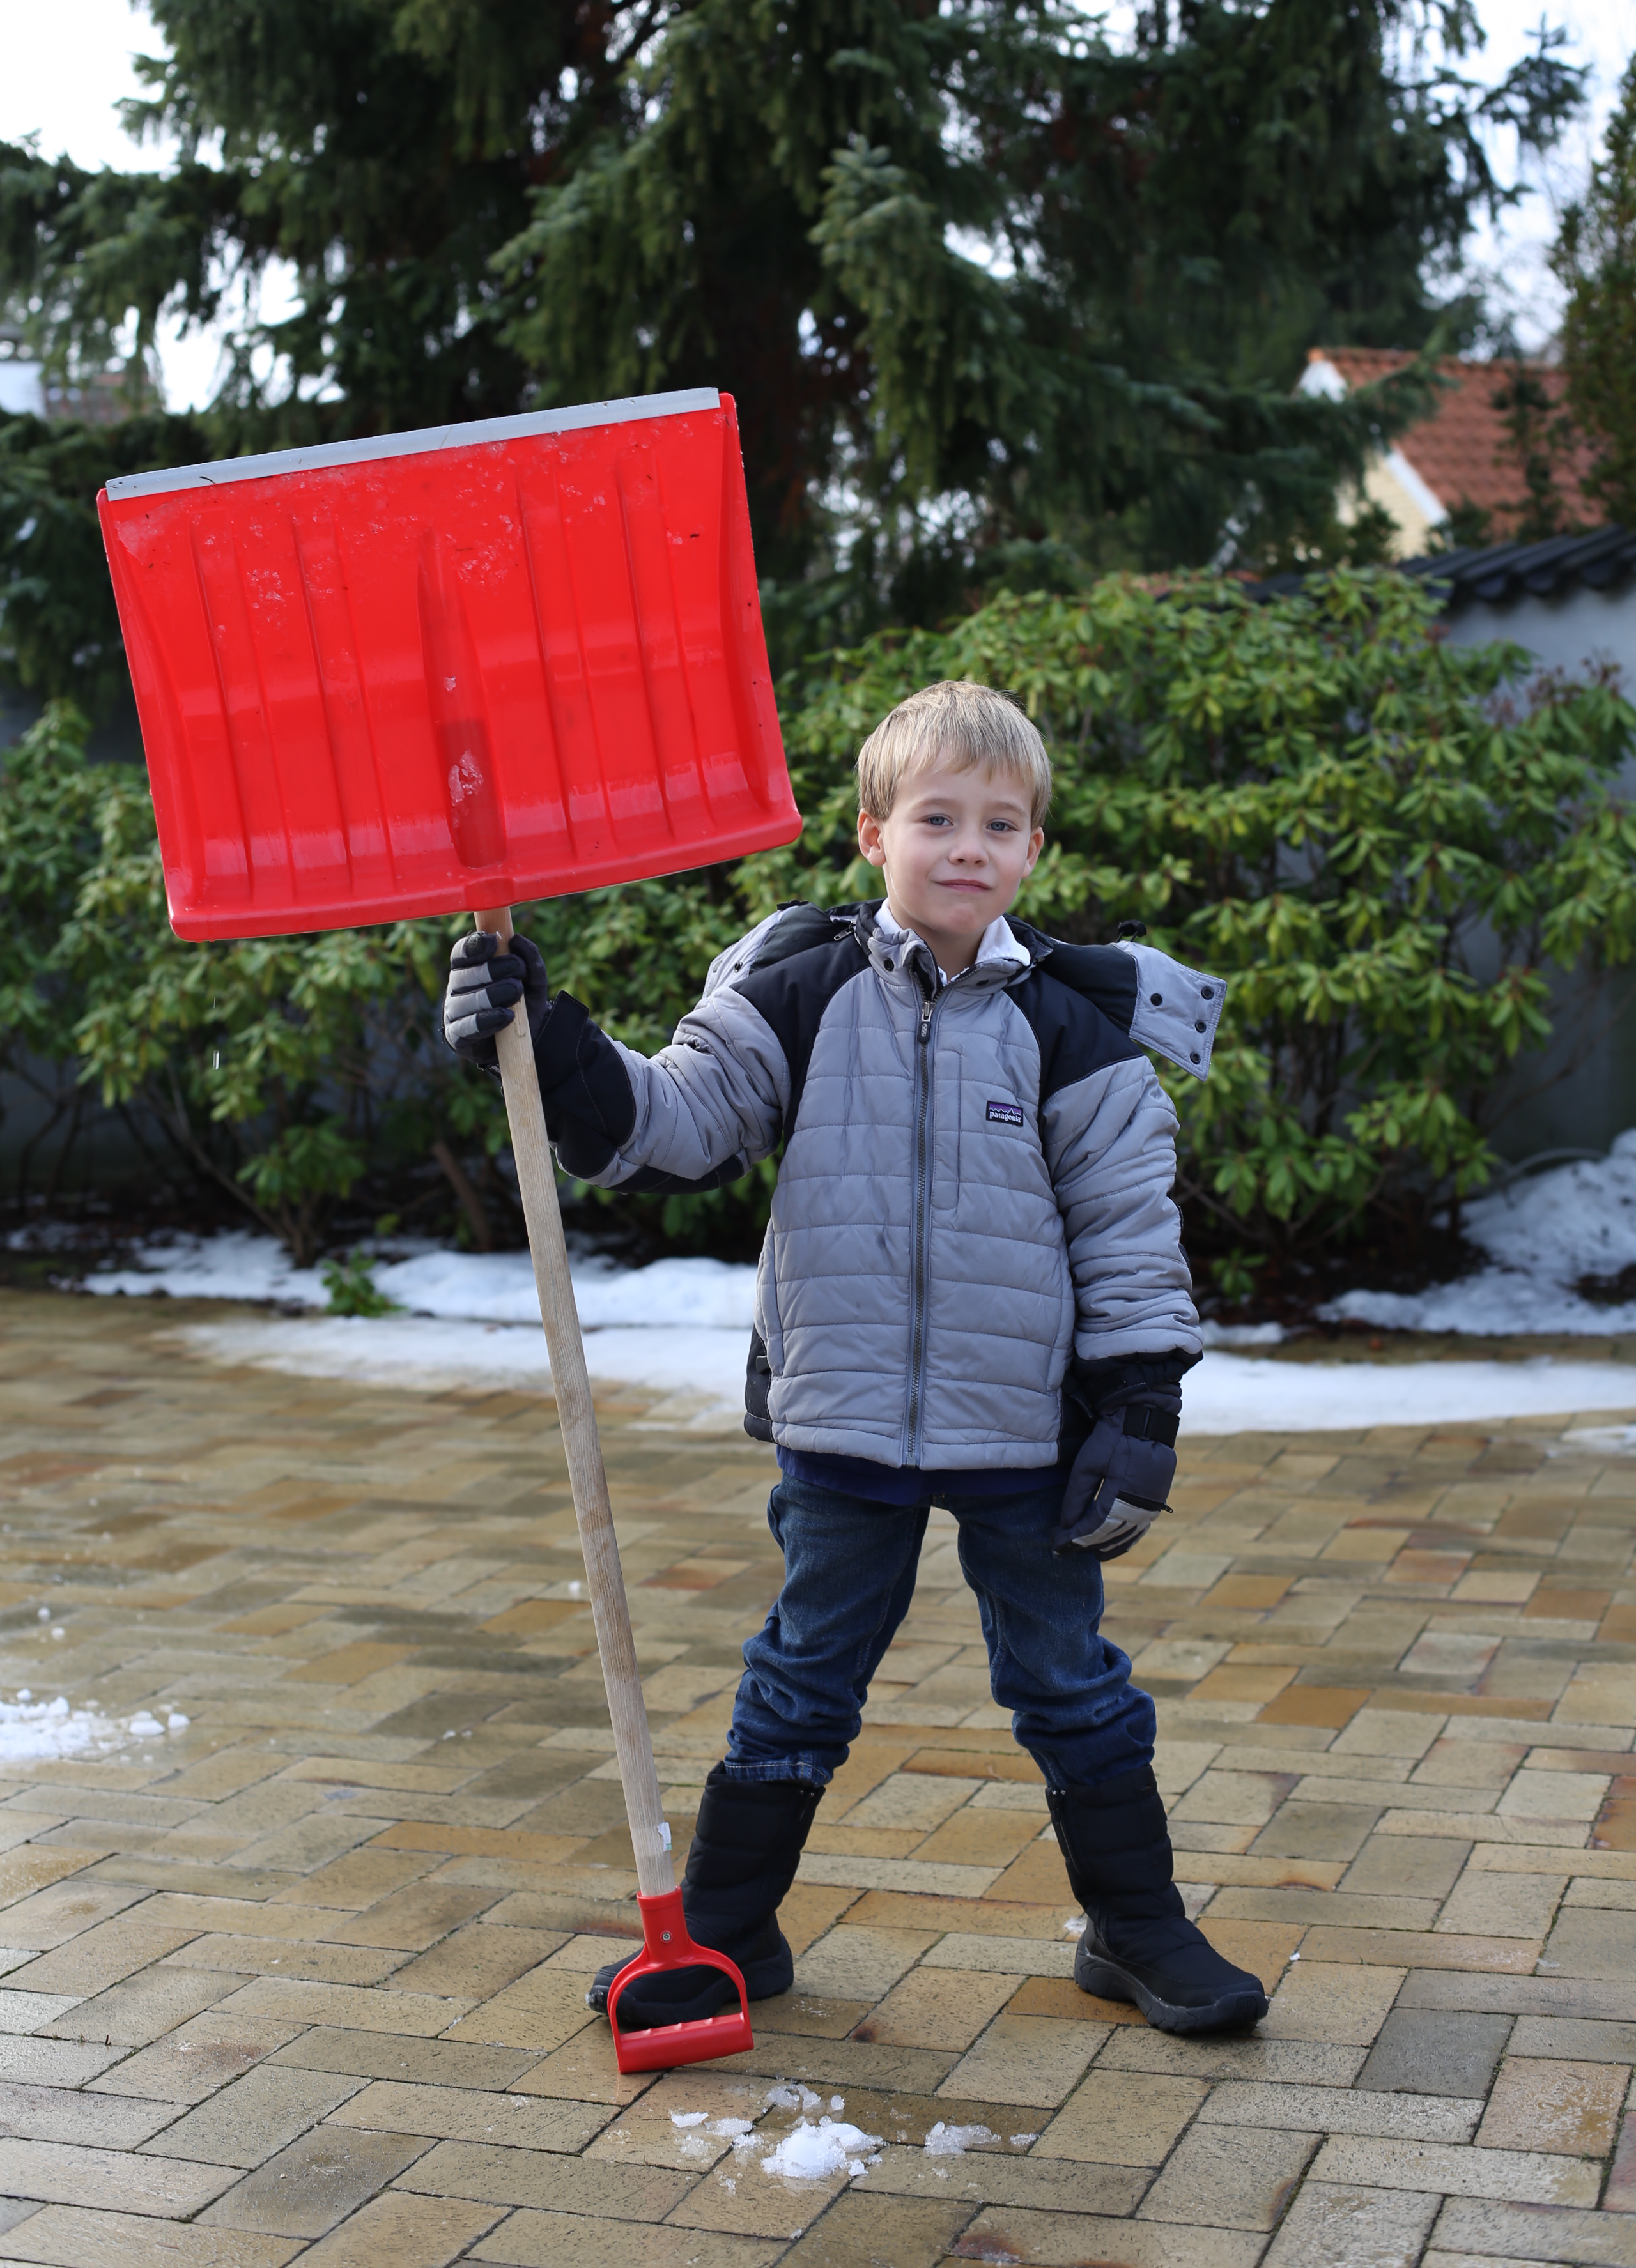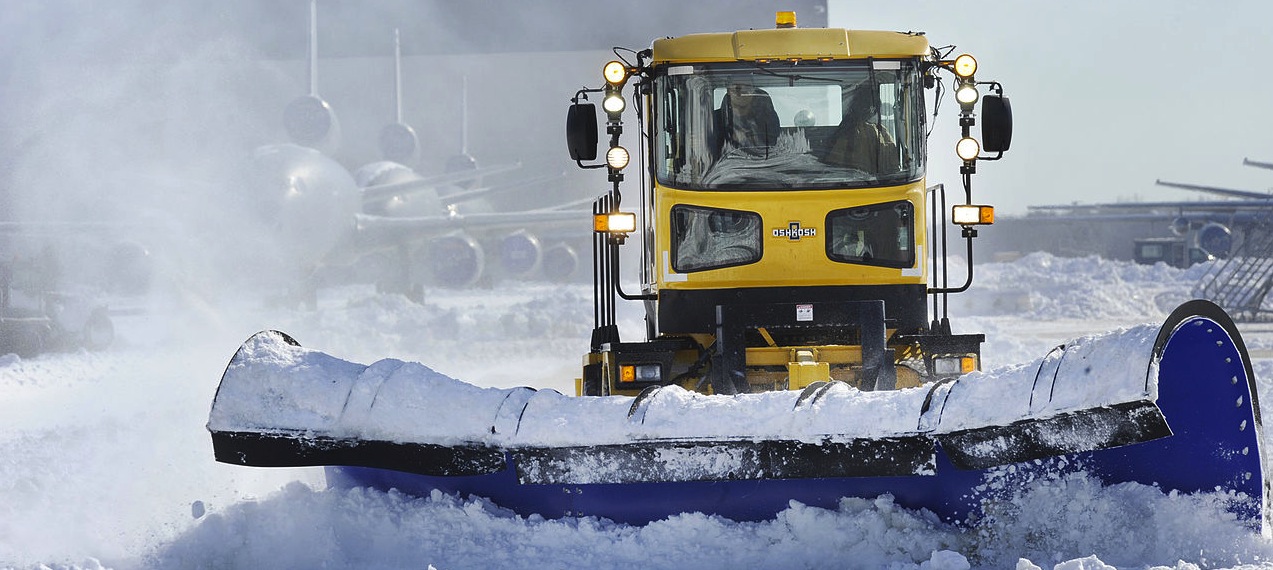
This guy is ready for some serious snow removal. Image via Lars Plougmann/CC
Snow days — the best days of the year for kids and the worst days of the year for adults. The younger group breaks out the sleds and snowboards, while the older half breaks out the shovels and rock salt. I like to think I’m still in the first group, the group that enjoys the snow rather than hates it.
But these days, even the thought of walking in or shoveling snow has me hoping for the mercury sitting above 32 and rain falling instead. Now I know the kid in me is disappointed to hear that, but hey everyone has to grow up one day, right?
Well now that my younger self is no longer talking to my older self out of a snow-fueled rage, let’s get down to business — getting rid of that snow. Snow removal is vital to keeping a well maintained house, both inside and out.
Snow Removal 101: Supplies
Unless you plan on global warming taking care of the snow in your driveway, you’re going to need some supplies. Both myself and your boss (who wants you to not skip work and keep your job) suggest you take matters into your own hands and don’t wait for the snow to melt on its own.
The tools are simple. A large snow shovel, a smaller shovel, a broom and rock salt will do the job quite nicely. Bonus points for a snow blower or kitty litter for top-level snow removal. And I highly recommend the snow blower for people who live in a snow-prone area or those with a large driveway of snow to clear. It will move the process along so quick that you’ll be back inside the house sipping hot cocoa before you can even sing your best rendition of Grandma Got Run Over by a Reindeer. A pickup truck or utility trailer is a great way to get the snow blower back to the house from the store.
Snow Removal 101: The Hard Work
Well, now that we’ve got the supplies there is nothing else left to do but get to the hard work. You’re going to want to start with a large shovel for the driveway and keep the smaller shovel for later when you do any walkways. If you want to skip all these steps, go with the snow blower like I mentioned above.
- Shovel from side to side — Shovel the shortest distance of the driveway so that you don’t have to move snow long distances.
- Overlap rows — When starting a new row, have one quarter of the shovel sticking out in a previously shoveled row. This is to catch the excess that will be pushed off to the side.
- Toss forward not sideways — If you have to toss the snow, move it forward not to the side. The less times you have to shovel it, the better.
- Pick a pattern — And stick with it. Random patches of shoveled driveway are not going to help you out.
- Take your time — Slow and steady wins the race. If you try and rush you’re more likely to just spread the snow around and not actually get it off to the side.

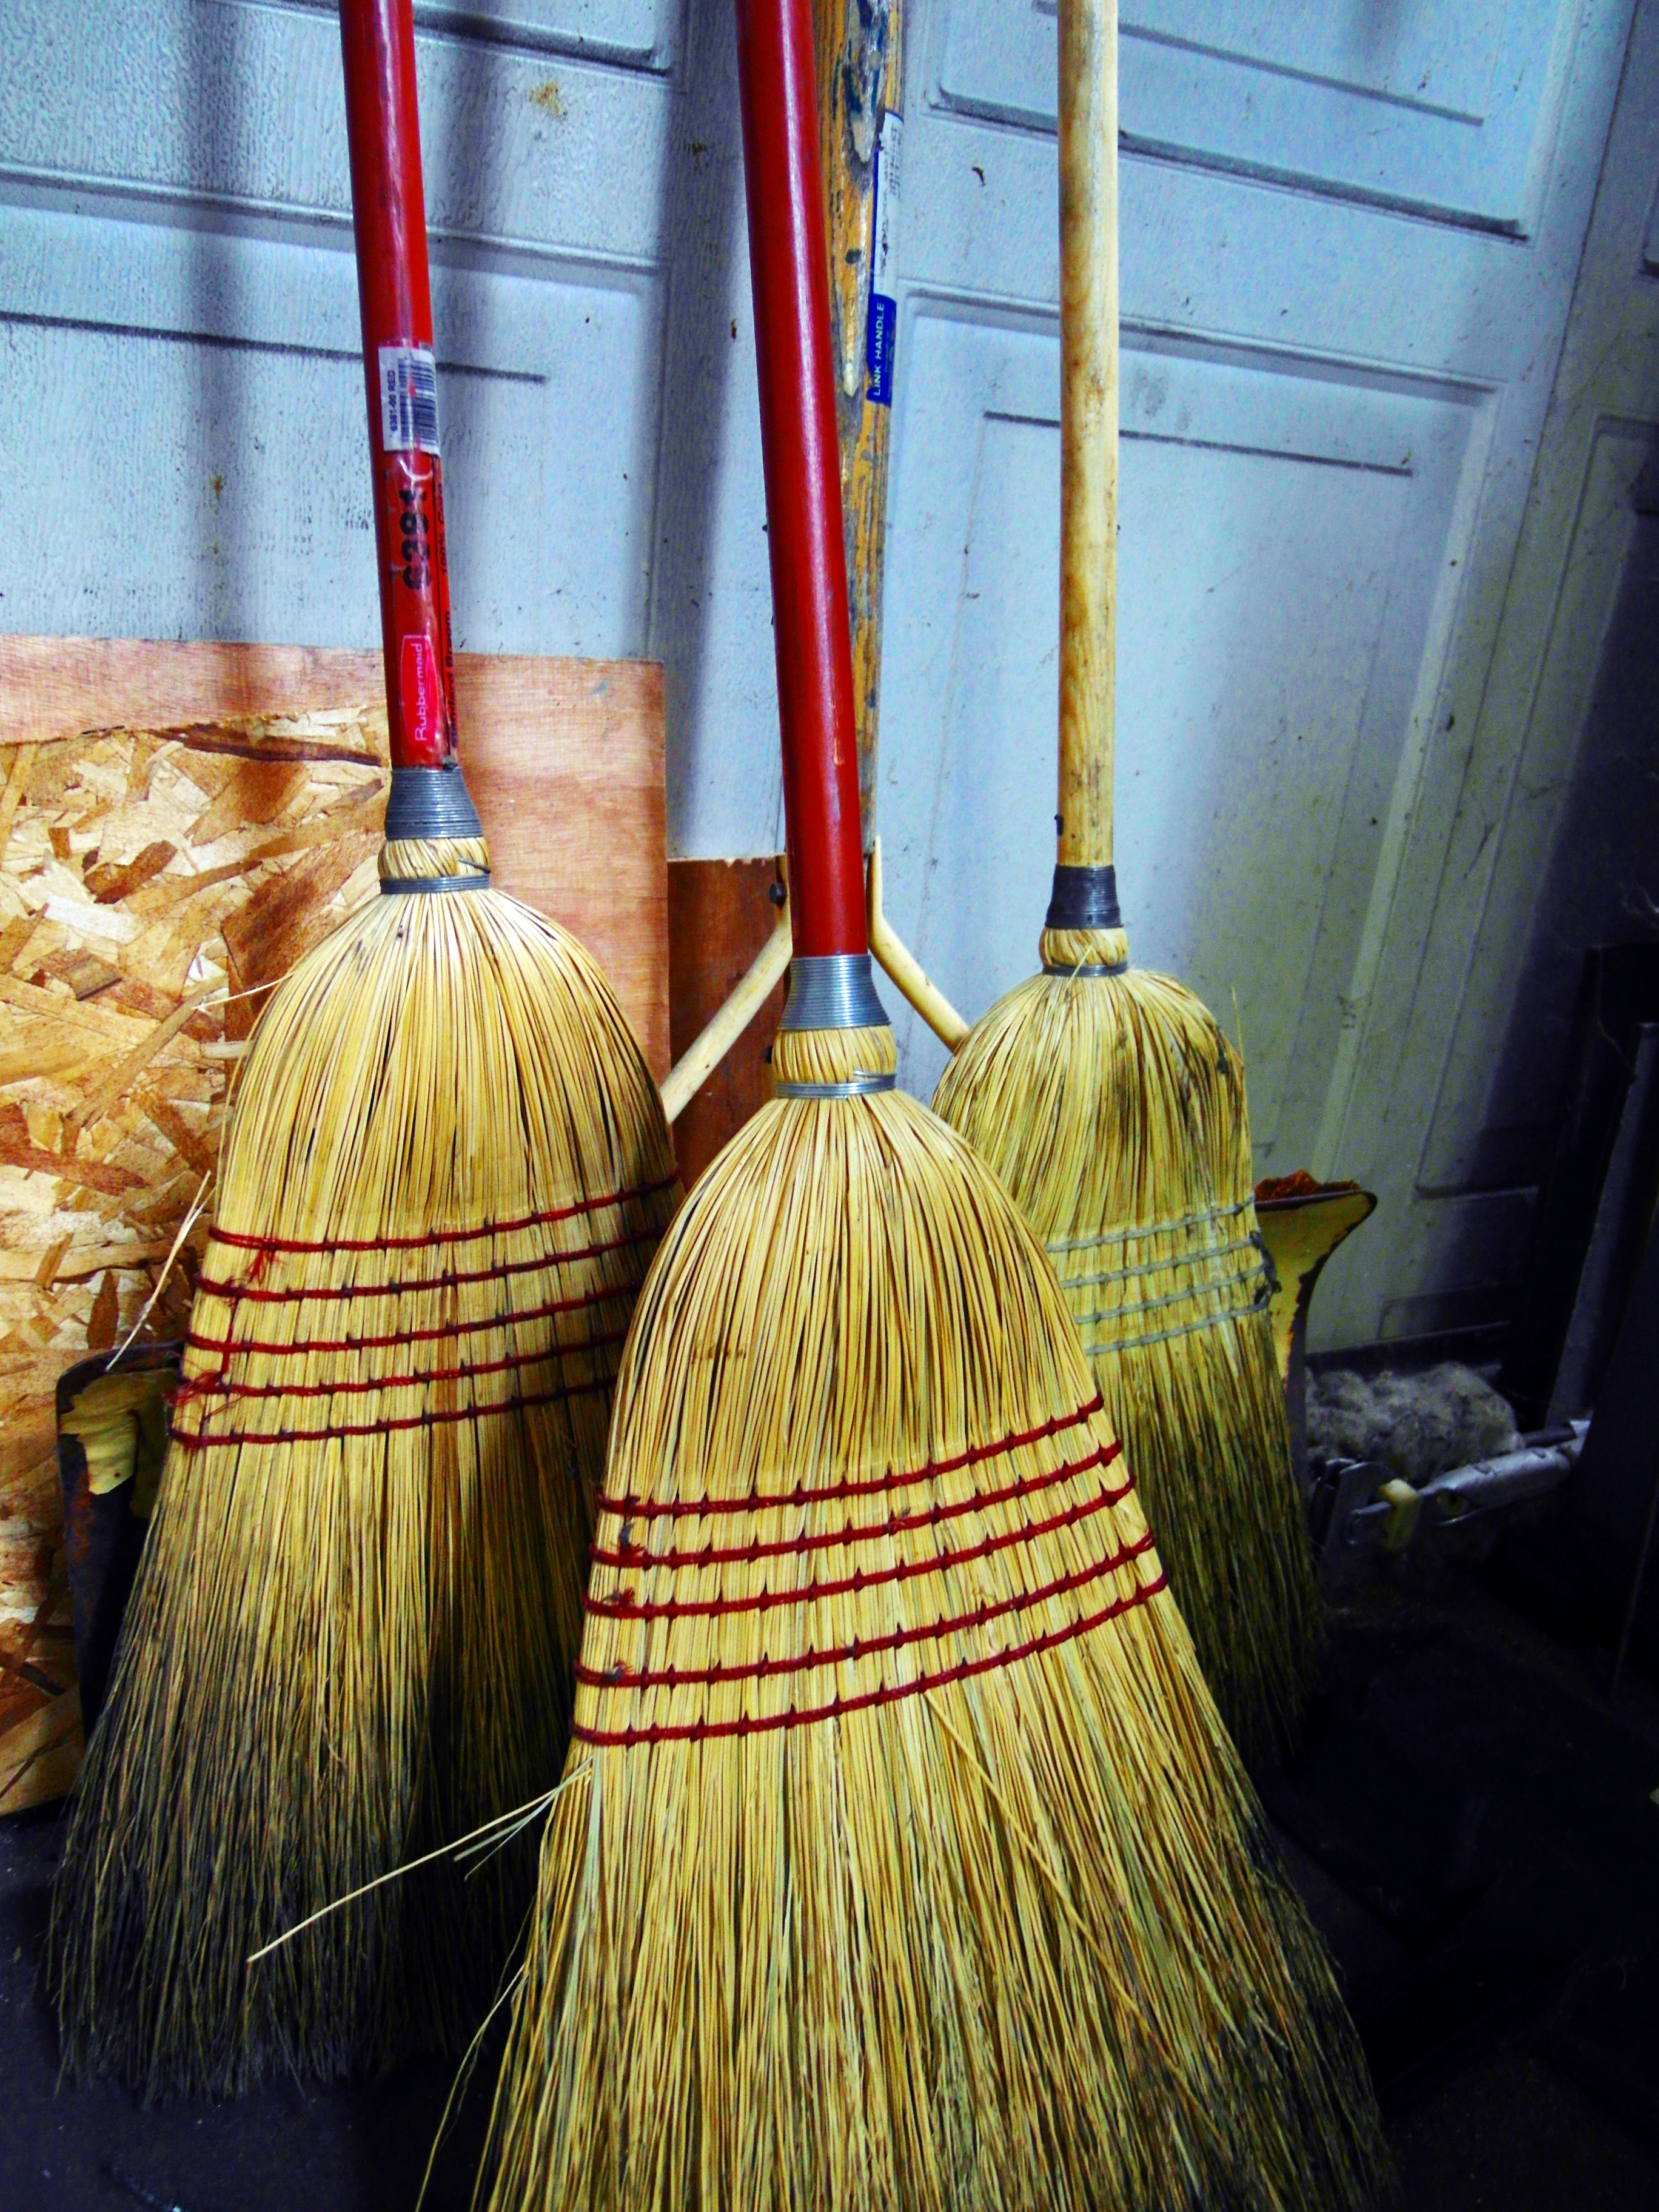
Brooms help with the last bits of snow the shovel can’t get and also on the car windshield. Image via Wayne Wilkinson/CC
Snow Removal 101: The Finishing Touches
Enter stage left the broom and rock salt. Use the broom to sweep off any leftover snow in hard to reach spots, the cars and most importantly heavy buildup on window sills and around exhaust fans. Apply the rock salt to sidewalks and other paved areas to help melt remaining snow and prevent ice build up. Rock salt can also be spread with devices that fit in the bed of a pickup truck — a good thing to keep in mind if you have a large area to cover.
That’s it! You’re ready for your first snow storm of the season — go forth with your newly acquired snow-fu knowledge and take care of business. And don’t forget about your elderly neighbor down the street, I’m sure they could use the help as well.
What is your snow removal technique? Do you think there is something that we missed? Let us know the comments below.


