Filling up an empty wall with a picture collage is a great way to create an accent wall and add character to your home. Before you start hanging, plan appropriately to make a picture collage that will liven up your home. Follow the steps below to plan the perfect picture collage:
Step 1: Pick out the right pictures or paintings for your wall. Some people choose to make a theme (i.e. black and white photos). Others choose an eclectic look, which means adding all different elements in the collage, as pictured in the picture below.
Step 2: Start laying out your pictures on the floor. Don’t know where to start? That’s okay! Just start laying pictures out, front facing up so you can assess what you have to work with.
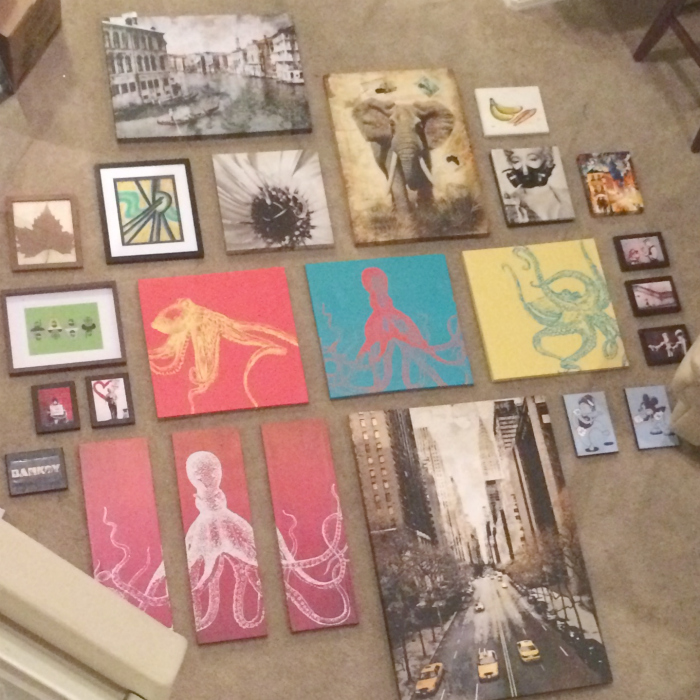
Step 3: Play around with the order and arrangement until you find one you’re happy with. We suggest doing placing down the larger pictures first, then adding the smaller ones around it. Take a picture of the arrangement to reference when hanging.
Step 4: Using butcher paper or packing paper, cut out squares in the exact shapes of pictures or paintings for all the items going on the wall. Be sure to use a leveler!
Step 5: Using the paper cutout you took, grab some tape and stick each piece of wrapping paper on the wall.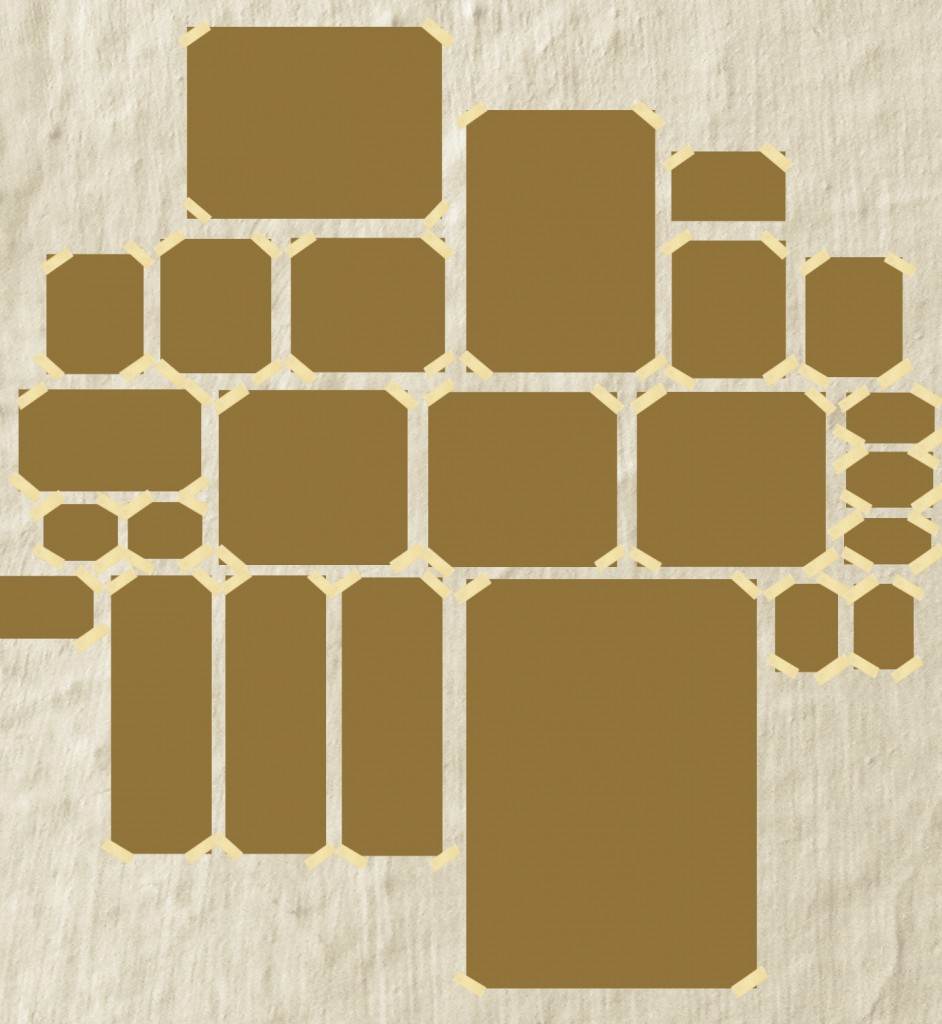
*The above image represents the packing paper or butcher paper taped onto a wall.*
Step 6: Start hanging the paintings using the outline you’ve taped on the wall.
Step 7: Step back and enjoy your new accent wall!
What were your experiences creating a picture collage? Do you have any additional tips? Let us know below.


