How to Pack a Computer for Moving or Shipping
Last Updated:
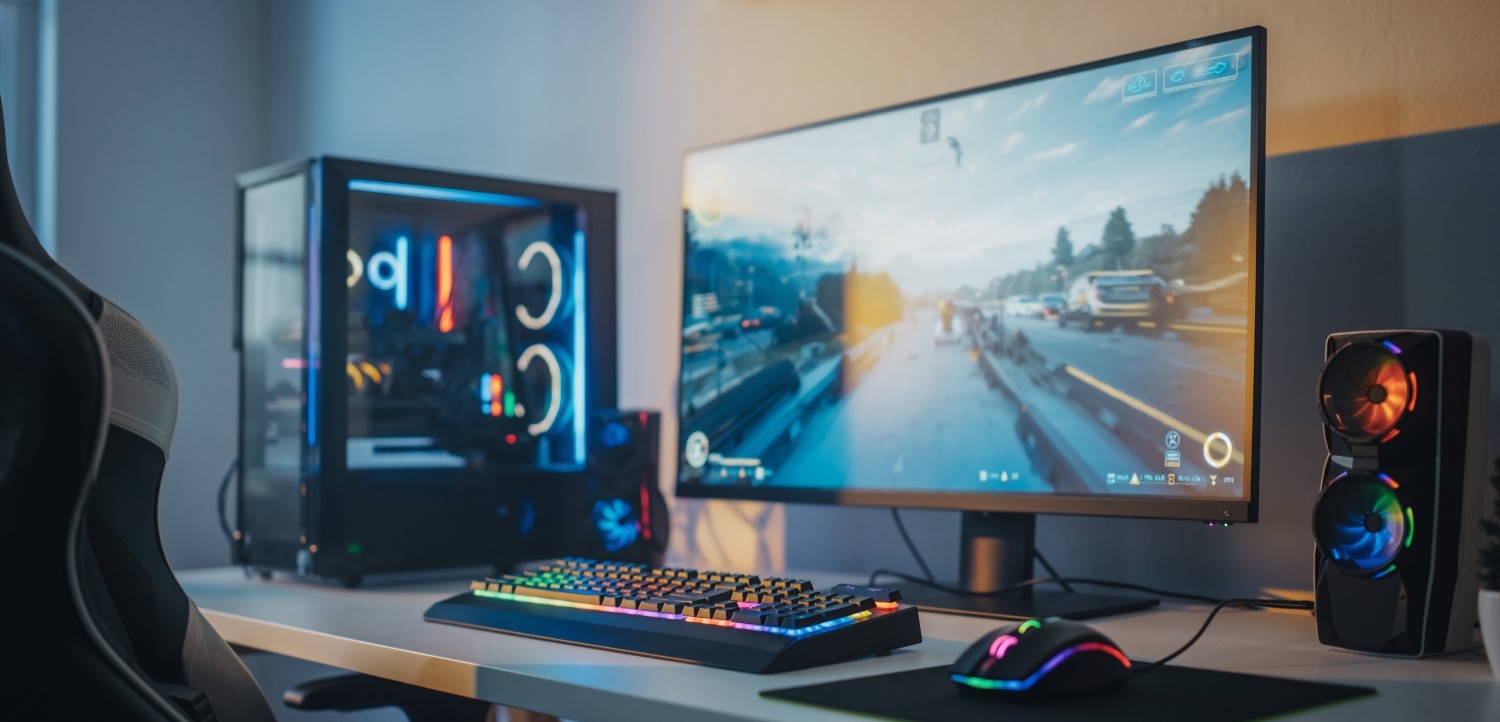
Maybe you’re moving your computer from your office, or maybe you’re spending the day carefully taking apart your custom-built gaming PC before packing it. Whatever the situation, this complete guide covers everything you need to know, whether it’s a laptop, office computer, or a $5,000 custom setup.
Key Takeaways
|
Packing a Laptop
There isn’t much to packing a laptop, making it arguably one of the easiest items to pack. However, something people often forget to do is shut down the laptop before putting it into their laptop bag. Shutting down your laptop before putting it away when packing can actually save your laptop from overheating.
When you put a laptop in sleep mode into a computer bag, it may be okay for 10-30 minutes, but if you plan on leaving it any longer than that, it’s best to shut it down.
An overheated laptop can damage internal components, including the battery, graphics card, and screen. To save yourself a trip to the repair shop or having to purchase an entirely new laptop, double checking it’s fully shut down is an important step.
What Battery Percentage Should My Laptop Have Before Packing?
Your laptop should be charged no more than 30% before packing. Laptop batteries are their most stable when at a low charge percentage, going any higher than 30% risks the battery breaking down and potentially causing a fire.
For more information, check out Lithium Battery State of Charge Limits in 2025 and 2026.
What if I Don’t Have a Laptop Bag?
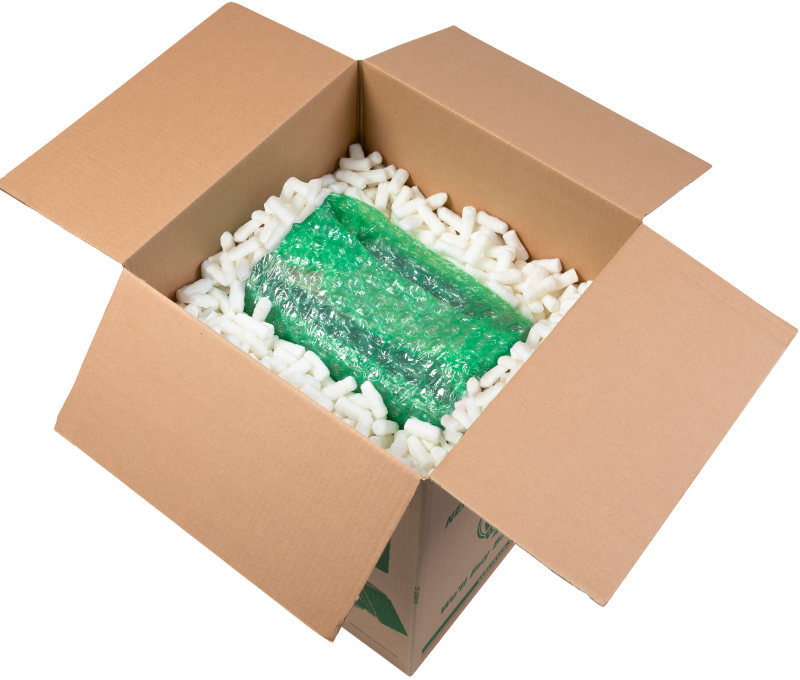
If you don’t have a laptop bag, your laptop should go in its own moving box with protective packing materials such as packing peanuts, bubble pack, or packing paper surrounding it with at least an inch of buffer space on all sides.
Before putting it inside a moving box, make sure it has an anti-static bag and is also wrapped in bubble pack, as shown in the picture below:
What is an Anti-Static Bag? And Why Do I Need Them?
If you’ve ever played on a playground and gotten shocked after sliding down a slide, you’ve experienced an electrostatic discharge (ESD). This phenomenon occurs when a static charge suddenly transfers between two objects with different electrical charges, usually when they come into contact or are very close to each other. A discharge can damage the electrical components inside your devices. That’s when an anti-static bag comes in handy.
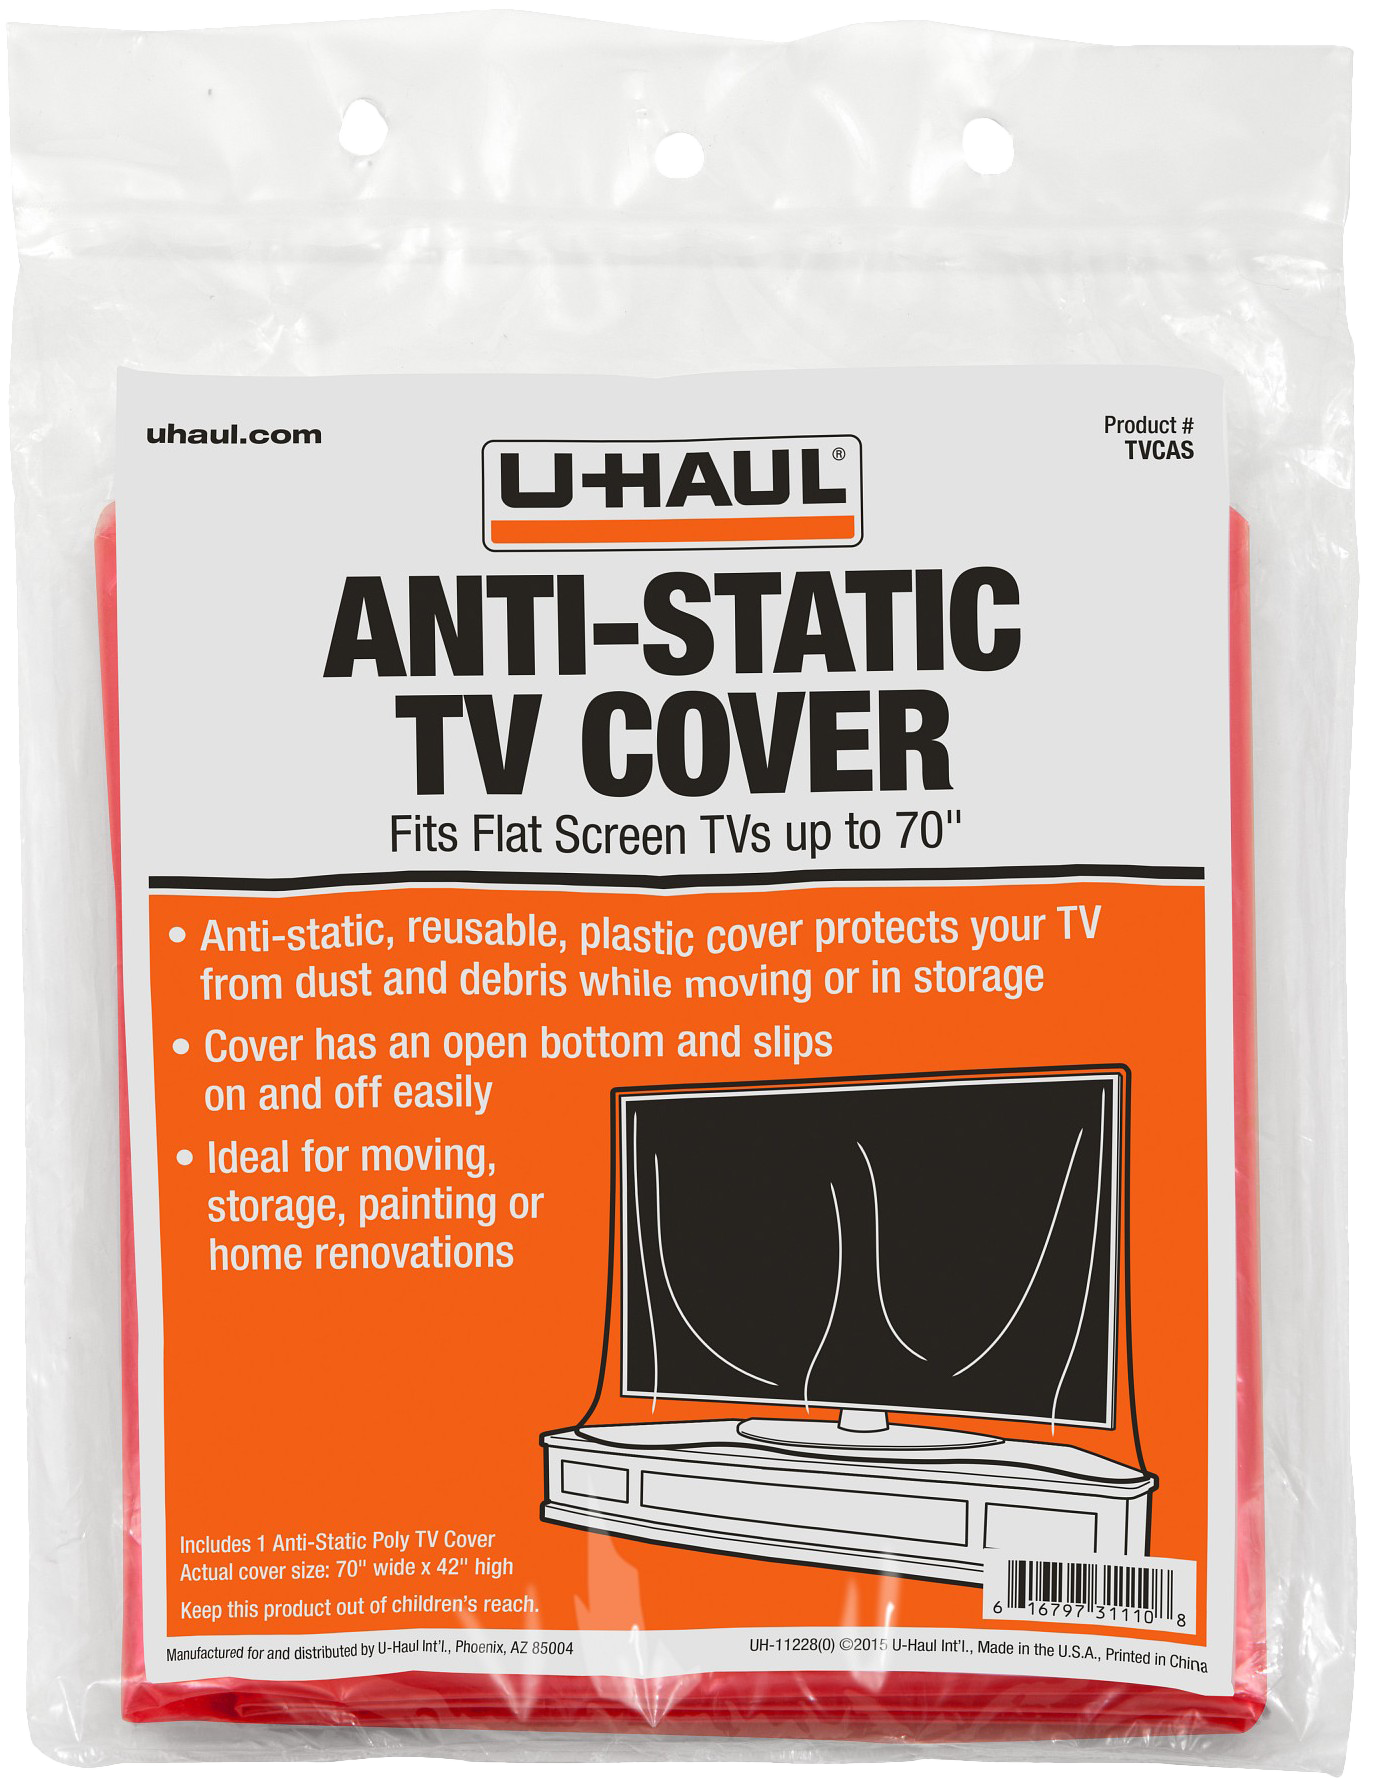
Whenever you move anything that can plug into an outlet, it’s a good idea to have an anti-static bag or wrap surrounding it. This affordable packing supply is a necessity when it comes to moving electronics.
 |
|
Packing a Monitor or All-In-One PC for Moving or Shipping
Computer monitors aren’t cheap, and if not packed correctly, they can be damaged during transit. By following these few steps, you’ll have a protected monitor in no time. You can also use TV box kits as a monitor storage box. Plus, packing a monitor is almost the same as packing a flat-screen TV!
This method also works if your computer is an all-in-one; just be more aware that an all-in-one weighs much more than a normal computer monitor.
- Follow these steps to ensure your monitor is secure during transit:
- Take a photo of all the cables plugged into the monitor (this will be your cheat sheet for plugging everything back in)
- Disconnect any cables from the monitor and put them into a sealed plastic bag.
- This means HDMI, power cables, VGA cables, and any other connections need to be removed
- Lay a furniture pad or blanket flat on the ground and place the monitor screen side down on the blanket.
- Disconnect the monitor stand hardware (this is either done with a button on the back of the monitor, an Allen key, or a Phillips head screwdriver).
- Place the monitor inside the anti-static TV cover, then place the TV inside the flat screen TV cover and tape the loose ends of the cover to itself.
- Take the four foam pieces and place them on each corner so that the monitor is lifted off the ground and cushioned.
- Lift the monitor and wrap the mover’s wrap around the foam corners, securing it to the monitor.
- Slide the monitor into the TV box.
- Place the stand and wires into the box, and if there are any loose areas, wedge in a moving blanket to make everything secure.
- Take the outer half of the TV box and slide it over the inner box, securing it with paper packing tape.
Pro Tip: If you have extra space in your monitor box, you can also individually wrap your keyboard, mouse, and headphones with bubble pack, making sure to tape any loose ends back to the bubble pack. Then, place them inside the monitor box.
|
The Ultimate TV Packing Kit Includes:
|
Packing an Office PC
Because an office PC is typically smaller and lighter than a gaming computer, packing it is simple. One thing to keep in mind: you want to have at least 2-3 inches of packing material, such as packing peanuts, around the computer tower inside the box to avoid potential damage.
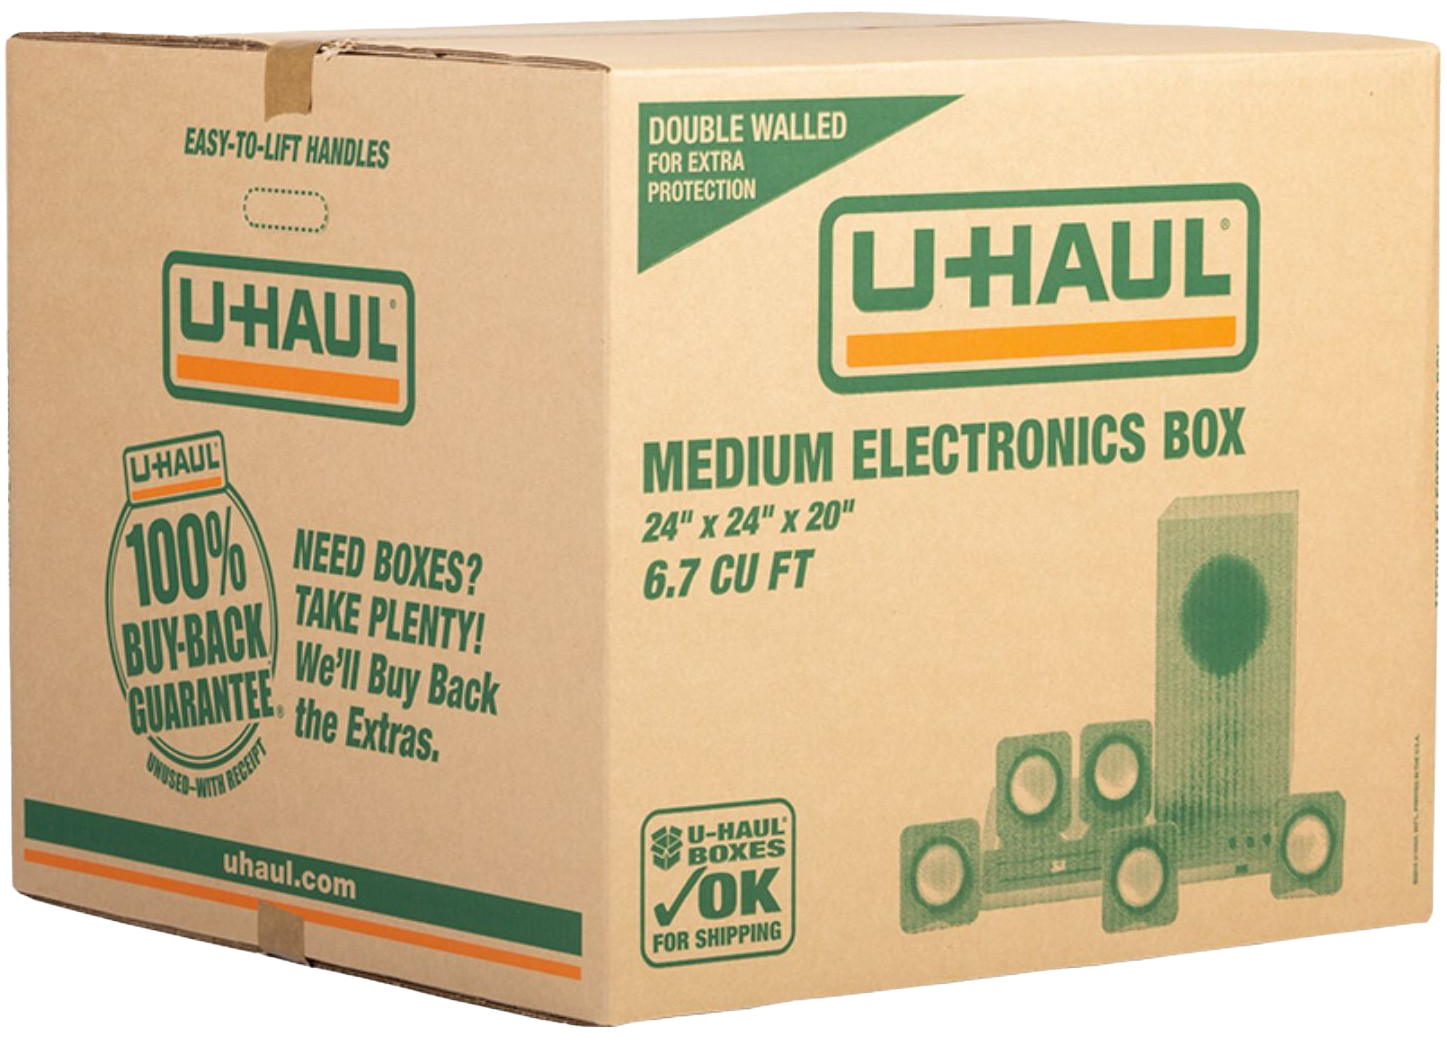


When packing an office PC, follow these steps:
- Back up important files to an external drive or cloud storage.
- Shut down the computer completely.
- Disconnect all cables and peripherals.
- Let the computer sit for an hour, this allows the power supply to fully discharge, preventing any ESDs.
- Place cables, adapters, and accessories into labeled sealed plastic bags.
- Place the tower inside an anti-static bag.
- Wrap the tower in several layers of bubble cushioning, making sure to attach tape only to the bubble pack.
- With the box being empty, tape the bottom of the box with the “H” tape method
- Line the bottom of your moving box with packing paper or packing peanuts.
- Place the tower in the center of the box.
- Fill all empty spaces with cushioning material such as packing peanuts.
- Seal the box using the "H" tape method.
- Clearly label the box "FRAGILE - COMPUTER."
For more information about packing the rest of your office setup, check out our complete guide on How to Pack an Office for Moving.
|
Recommended Packing Supplies for Computers, Laptops, and Monitors |
||
|
|
|
|


Packing a Gaming PC
If you’re wondering whether you must disassemble your entire PC to move it, the answer is no. It’s recommended that you only take out one component in your PC, the graphics card. Because your CPU, motherboard, and cooling fans are all attached with multiple screws along the outside of the computer, they’ll be secure enough for transport.
Pro Tip: Before you remove the graphics card, back up all your essential files to an external hard drive.
IMPORTANT: DO NOT fill your computer with foam packing materials around any of your components. This foam can shift and cause RAM sticks to break.
Removing a Graphics Card for Moving or Shipping
Follow these steps when removing your graphics card from your PC:
- Turn off your PC and your power supply (the small on-off switch on the rear of your PC)
- Unplug the power cable and any cables still attached to the PC case and place them in a sealed plastic bag.
- Press the power button one more time and hold it for 10 seconds; this will discharge any capacitors.
- Let the PC sit for an hour before attempting to remove the graphics card, this will allow the power supply to fully discharge.
- Lay the computer down on its side and remove the outside panel of your case to access the interior of your PC.
- Get a magnetized Phillips head screwdriver (if you don’t have a magnetized screwdriver, take a whiteboard or fridge magnet and run it down the length of the screwdriver shaft while rotating it).
- Disconnect any power cable from the graphics card by pressing down on the plastic release and pulling it out.
- Remove the graphics card screws that attach to the case. This is where the magnetized screwdriver comes in handy. Place the screws in a sealed plastic bag and write in permanent marker “graphics card screws”.
- Press down the graphics card latch on the motherboard, making sure you hear a click, and slowly pull it out.
- Place the outside panel back onto the case.
Now move on to packing the graphics card and tower.
Packing a Graphics Card for Moving or Shipping
When packing a graphics card, you’ll want a box that is at least three inches longer, wider, and deeper than your graphics card. Most graphics cards are less than 13 inches long, 3 inches wide, and 6 inches deep.
Here are some recommended boxes that would work for most graphics card sizes.
|
Recommended Boxes for Packing a Graphics Card |
||
|
|
|
|



Packing a graphics card isn’t very hard, but it’s important to be delicate with it. Place them on a soft surface before packing, like a moving blanket or your bed. Follow these steps, and your graphics card will arrive at your new home safe and secure.
- Take your box and apply the “H” tape method to the bottom.
- With the box sitting open and nothing in it, get your bag of packing peanuts and fill the bottom of the box at least a finger length deep.
- Place your graphics card into an anti-static bag and put it on top of the packing peanuts.
- Place the rest of the peanuts on top of the graphics card, making sure all sides of the card are cushioned and covered.
- When closing the box, there should be minimal resistance when pressing the flaps down. If you are crushing any packing peanuts, take some out.
- Tape the top of the box with the “H” tape method.
- With a black marker, write “FRAGILE” on all sides of the box, and do not place it under anything in a moving truck or portable storage container.
Because we removed the graphics card, packing the computer tower becomes much easier and safer. The goal is to prevent movement inside the box while protecting the case from impacts during loading, unloading, and transportation.
Before packing:
- Verify the graphics card has been removed.
• Ensure all side panels are secured.
• Remove any loose accessories attached to the exterior.
• Store all cables in a labeled plastic bag.
Recommended supplies:
- Anti-static bag large enough for the tower
• Bubble cushioning
• Packing paper
• Sturdy moving box
• Packing tape
Follow these steps:
- Place the tower inside an anti-static bag.
- Wrap the tower with multiple layers of bubble cushioning, paying extra attention to corners and glass panels.
- Add at least 2 inches of cushioning material to the bottom of the box.
- Place the tower upright inside the box.
- Fill all empty spaces with packing paper or cushioning material so the tower cannot shift.
- Add bubble pack or other packing materials on top before closing the box.
- Seal the box using the "H" tape method.
- Mark the box "FRAGILE - COMPUTER" on all sides.
Pro Tip: If your gaming PC has tempered glass side panels, consider adding an additional layer of cardboard over the glass before wrapping it in bubble cushioning.
Transporting Your Computer Safely
Even when packed correctly, electronics require special attention during transport. Keep computers and monitors upright whenever possible, avoid stacking heavy boxes on top of electronics, and don't leave computers in extreme heat or freezing temperatures for extended periods.
No matter if it’s a lightweight laptop, a home office workstation, or a high-end gaming rig, pack them properly to save you from costly repairs and frustrating delays.
The most important steps are using anti-static protection, removing the graphics from your gaming PC, cushioning every component properly, and preventing movement inside the box.
With the right supplies and a little patience, your computer can arrive at your new home ready for work, gaming, or daily use.
How to Ship a PC, Laptop, and Monitor
Shipping electronics like a desktop computer or laptop is a straightforward process. After your item is packed safely using the steps above, all that’s left to do is drop it off with your preferred courier.
The best way to make sure your boxes full of delicate computer parts remain secure during shipping is by using strong-adhesive shipping tape. U-Haul shipping tape features fiberglass strands that increase the tensile strength of normal packing tape, making it ideal for keeping your box closed. It’s our best recommendation for shipping fragile items.
Choose a Carrier - USPS, UPS, and FedEx
All shipping companies have something a bit different to offer. If you’re looking for cheap computer shipping, consider the United States Postal Service.
When you ship your computer hardware in person, employees will always ask what is in the box. This is where you tell them it needs specific “fragile” and “this side up” labeling.
For an item as delicate as a PC, monitor, or laptop, always purchase shipping insurance. Most carriers offer shipping insurance in exchange for a small fee. If you’re shipping a valuable gaming PC, adding insurance to your order can keep costs down if something happens to break. Keep in mind that the more valuable the item is, the higher the fee.
Research Battery Regulations – If your device has a battery, be sure you’re not breaking any battery shipping regulations by dropping it off in the mail. Typically, you can send one lithium-ion battery. Check with your carrier to see what you need to do to ship your item.
Ready to Get Packing?
U-Haul has everything you need to pack a variety of items for moving, storage, or shipping. Find boxes, packing supplies, shipping supplies, and more, and get packing today.